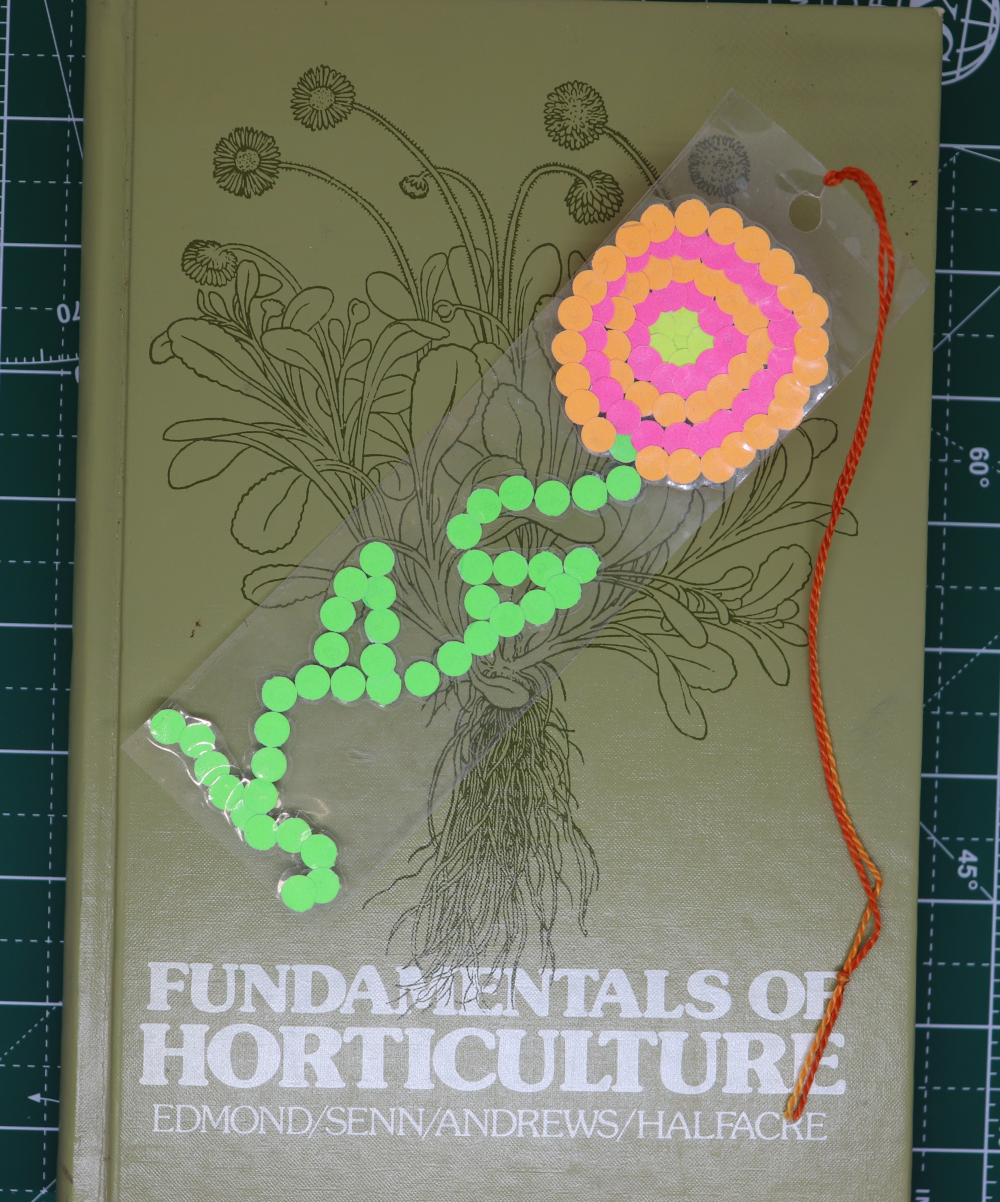
A cute little bookmark for you to make! The materials are mostly just office supplies, and the most important skill is a bit of patience! First the video version, or scroll down a bit for the still pictures and words version. Have fun!
Video
How-To!
You will need:
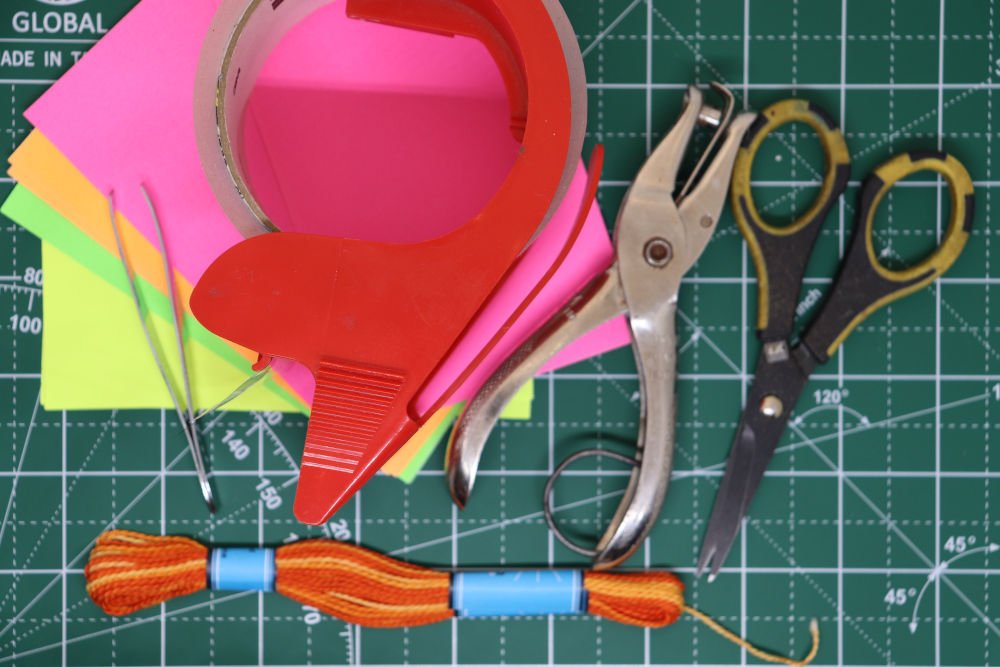
Card stock weight colored paper (I just used index cards) Packing Tape Hole Punch Scissors Tweezers Embroidery floss or ribbon (if desired) 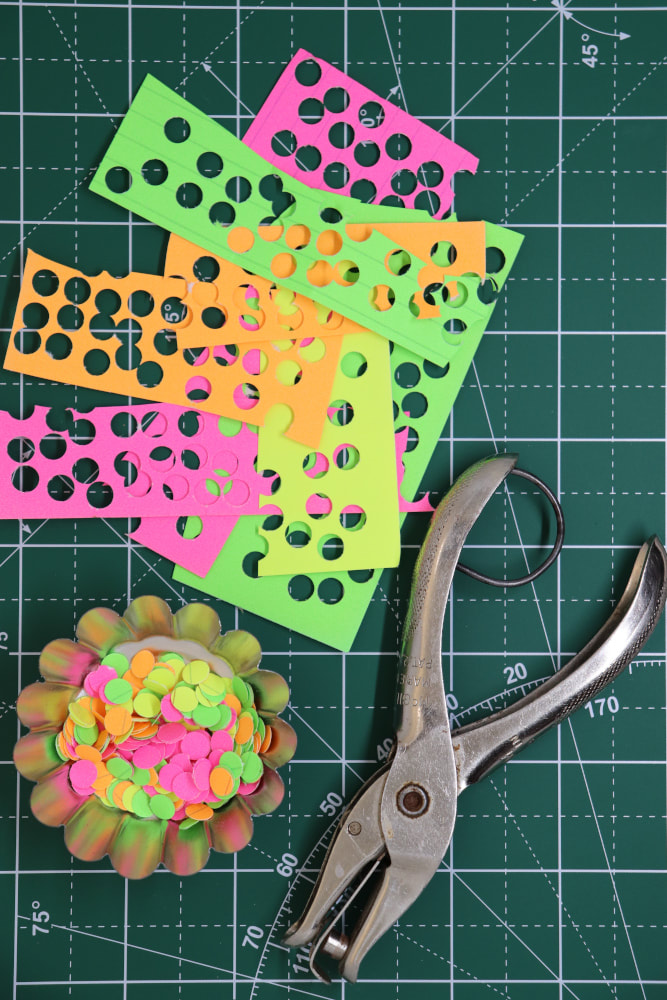
Grab your paper and punch a bunch of holes! It's easiest if you have a little container to catch the dots.
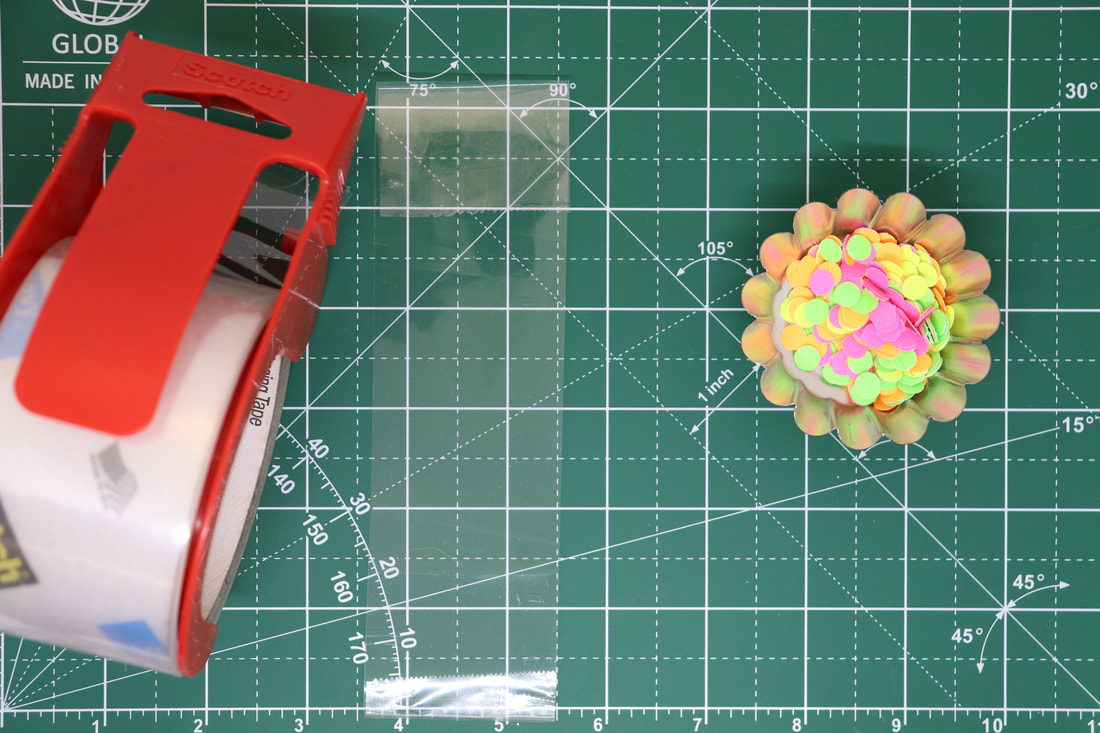
Tear or cut a piece of packing tape, a little longer than about six inches. Or so. It's your bookmark, you can make it as long or short as you want! Place it on your work surface, sticky side up. Fold a bit of the sticky side down to secure it.
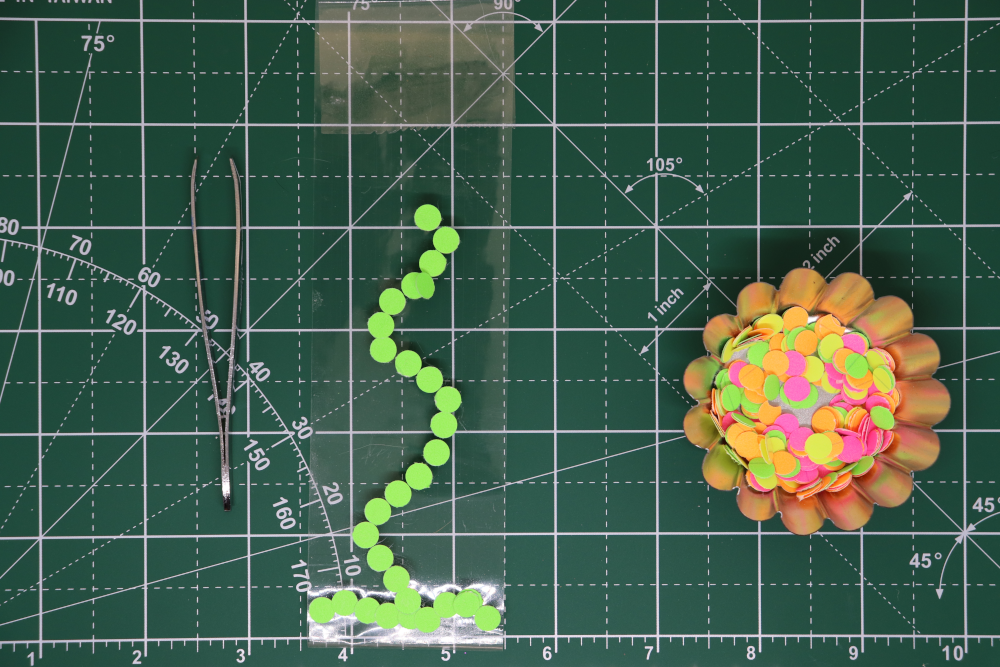
Using the tweezers, place the paper dots on the tape to make the grass and stem.
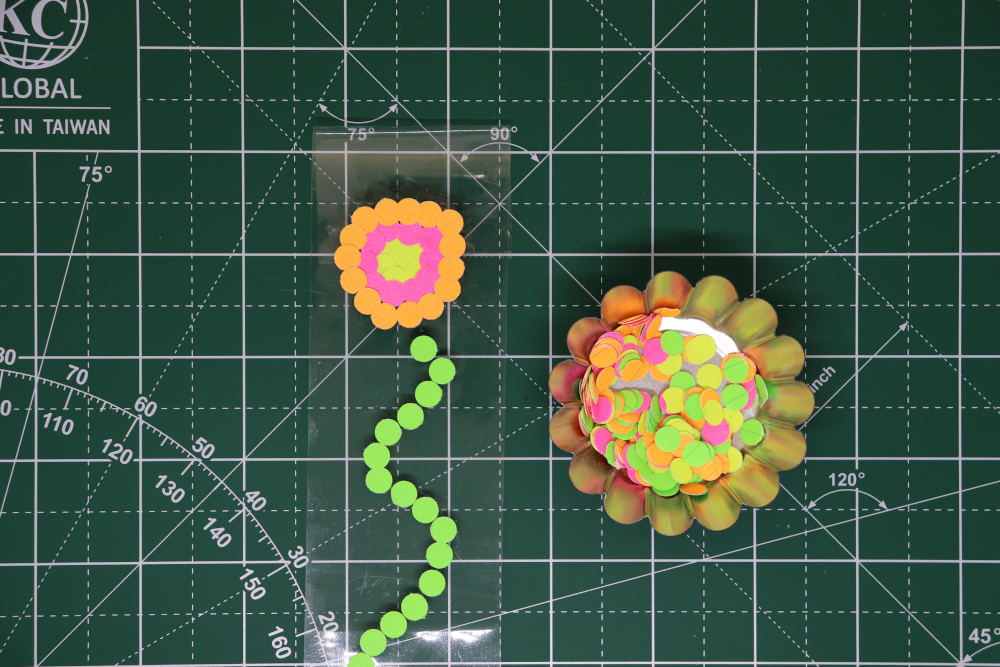
Now start making the flower! Start with the center, and then place the dots in circles around it
Continue adding dots in alternating colors.
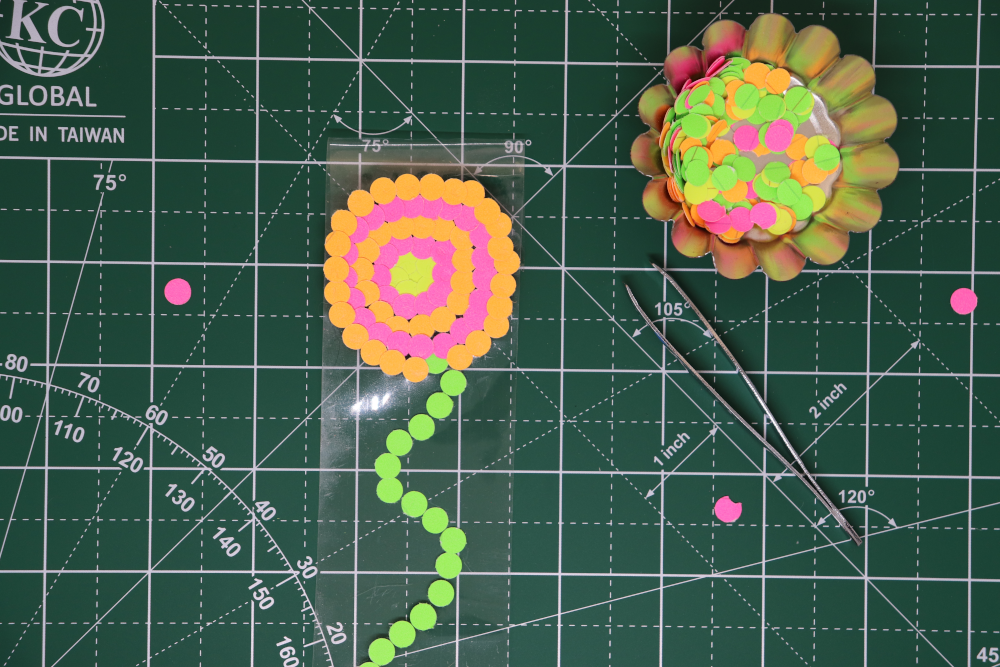
Use green dots to add leaves. Cut another piece of packing tape and press it down on your flower and smooth it out. (I find it works best if you cut it a little bit longer than your base piece, and then try to match up the sides as close as you can manage. Pull up from your work surface and trim the top and bottom.
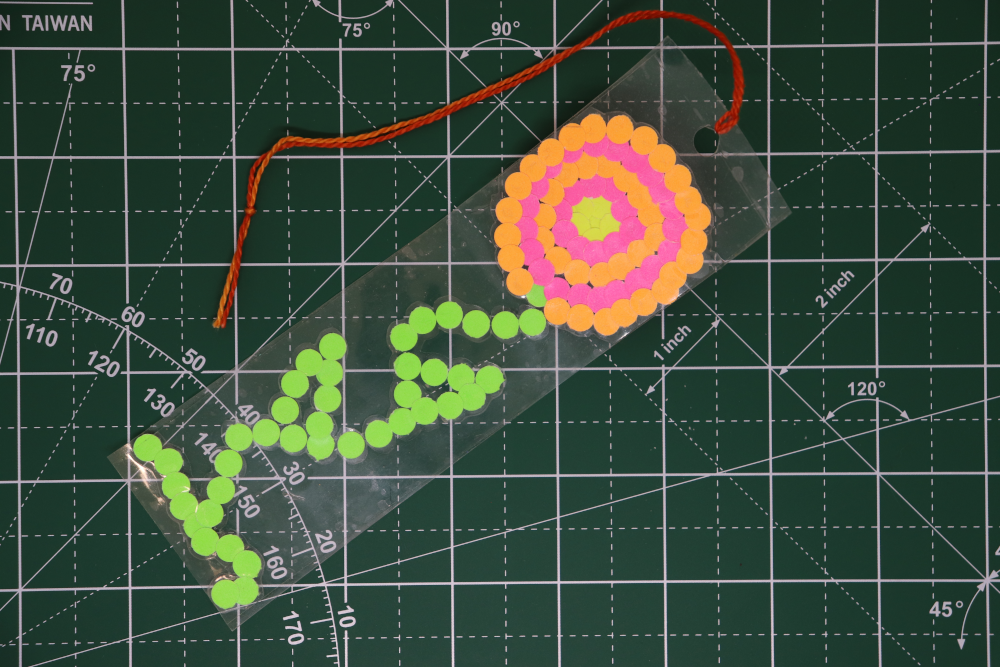
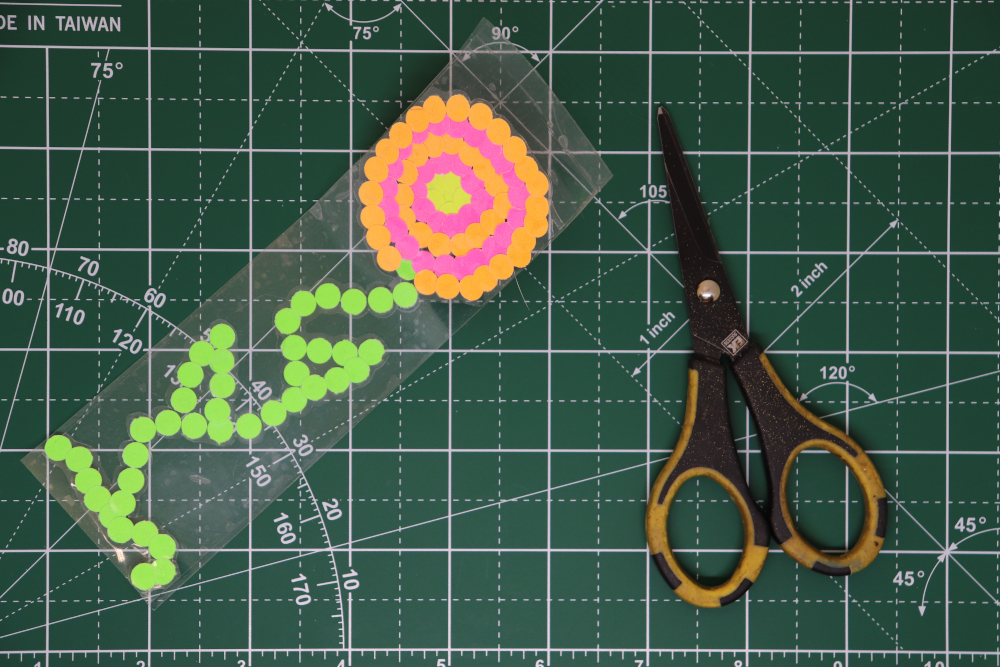
Punch a hole in the top and add a ribbon or other cord with a lark's head knot. All finished! Now go find a good book to read so you can use your new bookmark! My current favorites are the Newsflesh Trilogy by Mira Grant, The Hollow Ones by T. Kingfisher, Space Opera by Cat Valente, and the Brothers Sinister series by Courtney Milan. I've also revisited Mind of my Mind by Octavia Butler recently, and am planning to start in on Parable of the Sower soon!
If you enjoyed this tutorial, please feel free to toss a coin to your crafter!
0 Comments
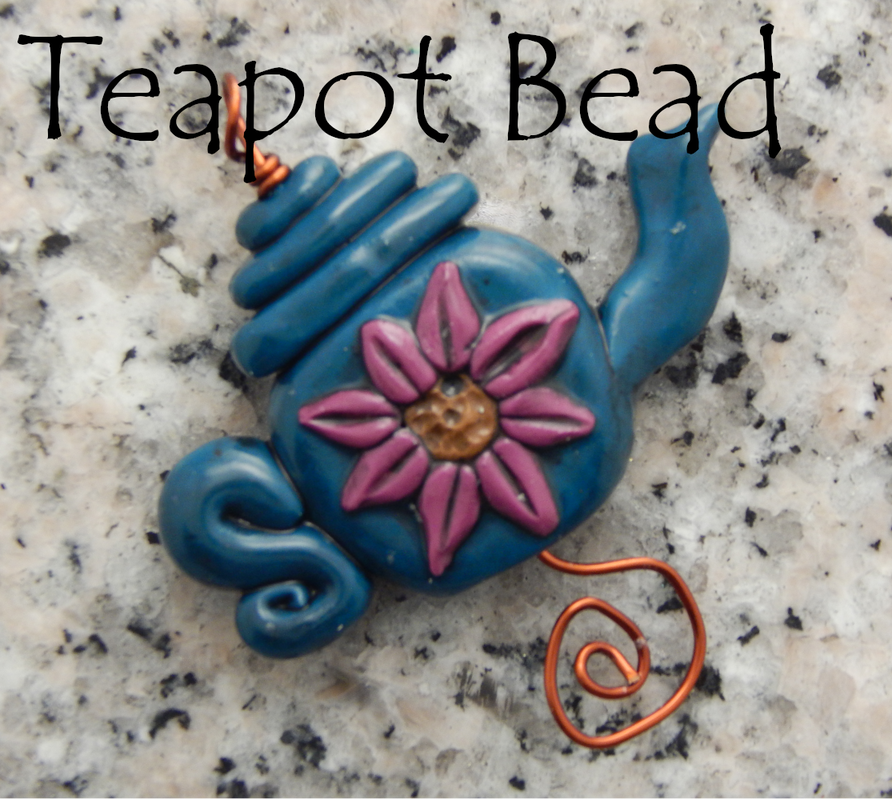
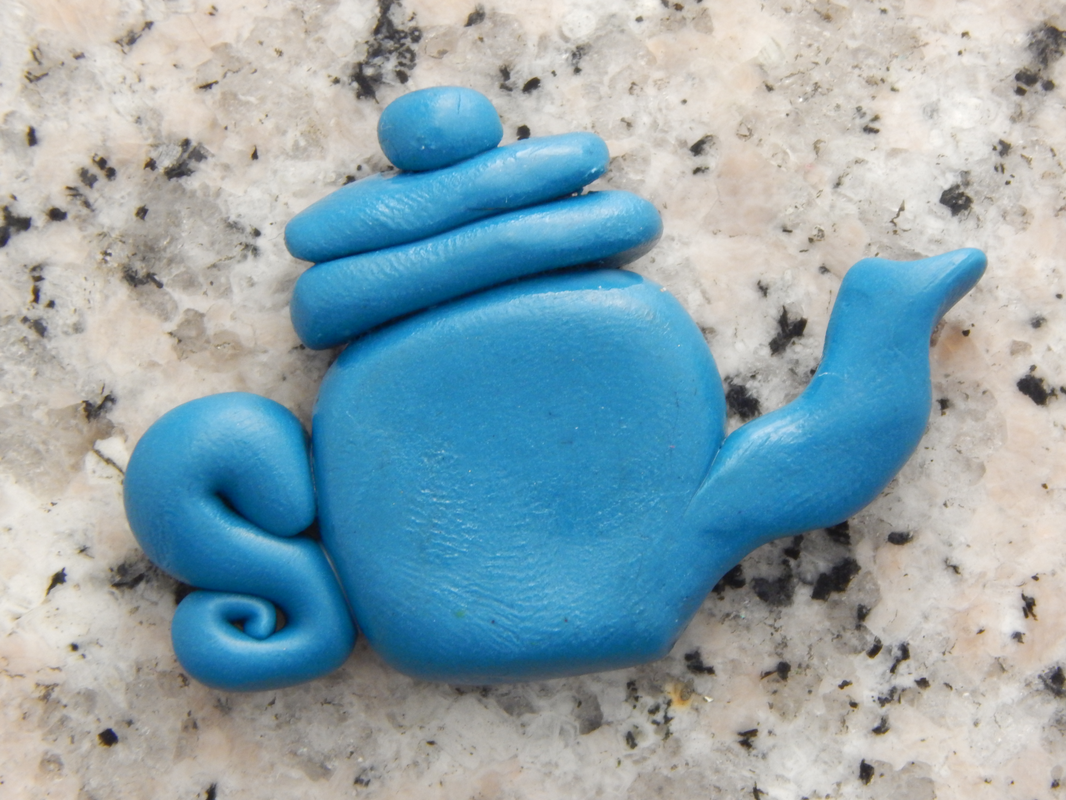
I'm a little teapot, short and stout! A cute little bead or pendant for the tea lovers! If you learn best via video, you can watch below, or scroll down to get the text and pictures tutorial. Or you can utilize both! Yay different modes of learning! (The video had to be sped up in places so it wouldn't be super long, so there is some motion blur happening - just something to be aware of if that is going to bother you! ) This assumes a beginner-to-intermediate knowledge of working with polymer clay.
SUPPLIES
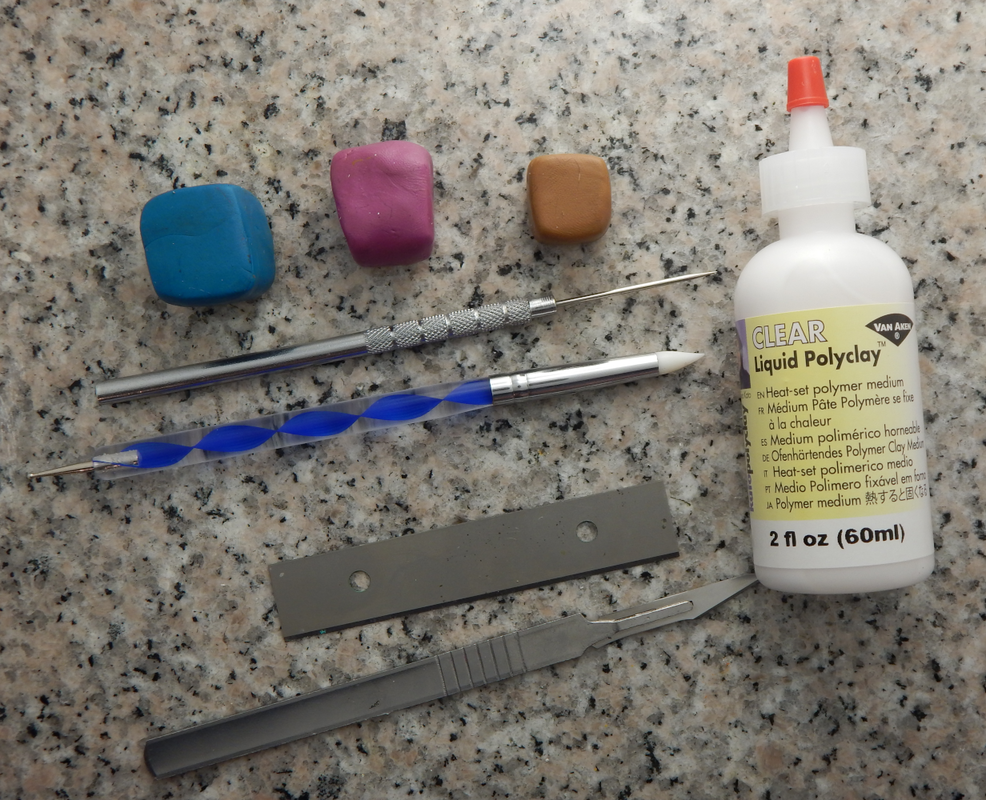
YOU WILL NEED: Three colors of polymer clay (One will be the body of the teapot, one will be the petals of the flower, and one will be the center of the flower.) Needle Tool Clay Shaper Embossing Tool Sharp Blade (I use a wallpaper scraping blade) Sharp Knife (I use a scalpel, but a craft knife would also work) Liquid Polymer Clay ALSO (not pictured) Acrylic Paint Index Card Wire Paint Brush Aluminum Foil Baking tray and parchment paper
INSTRUCTIONS
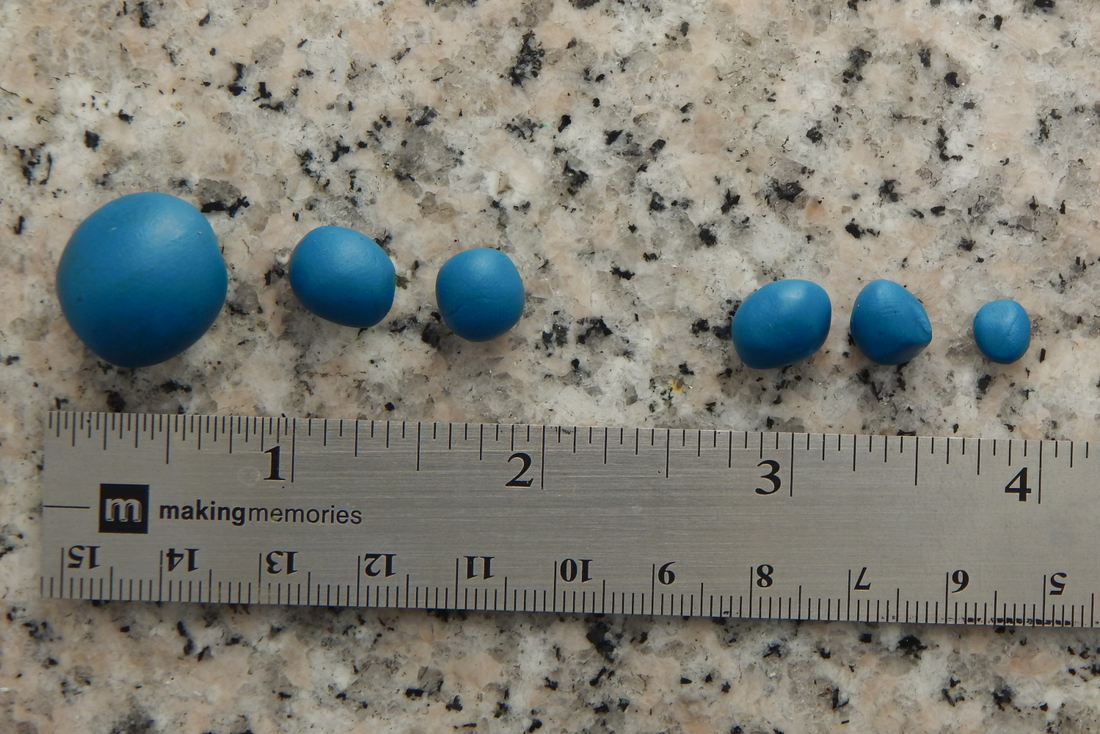
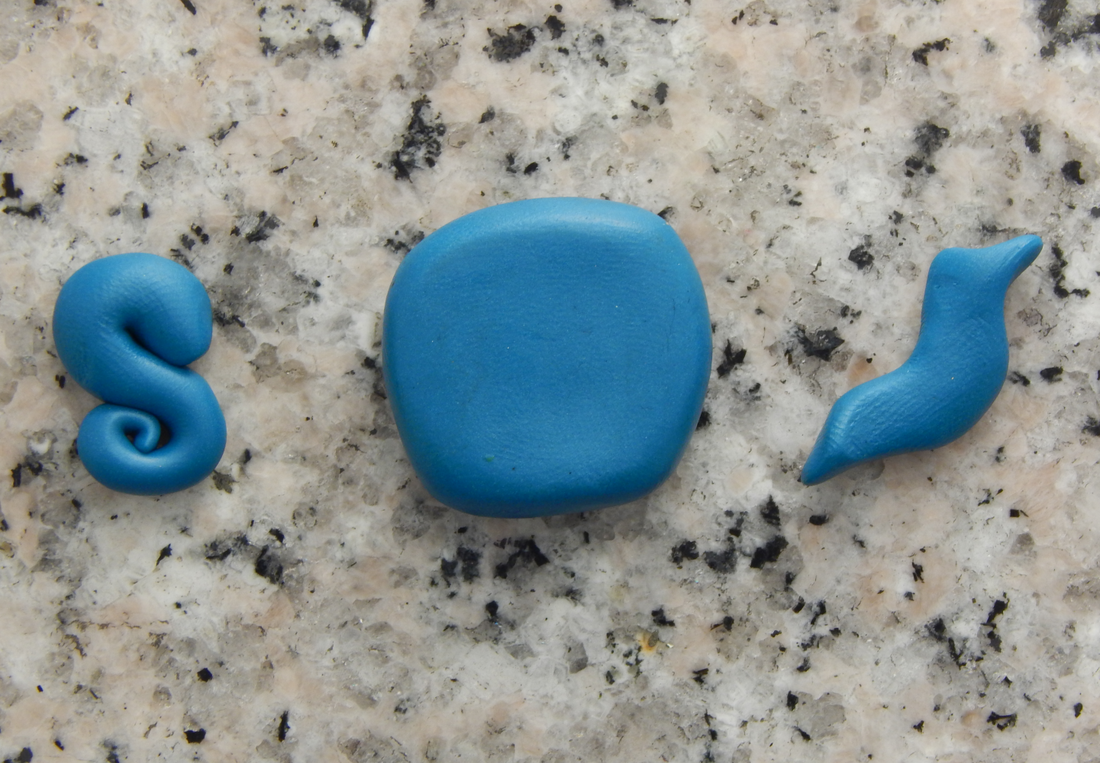
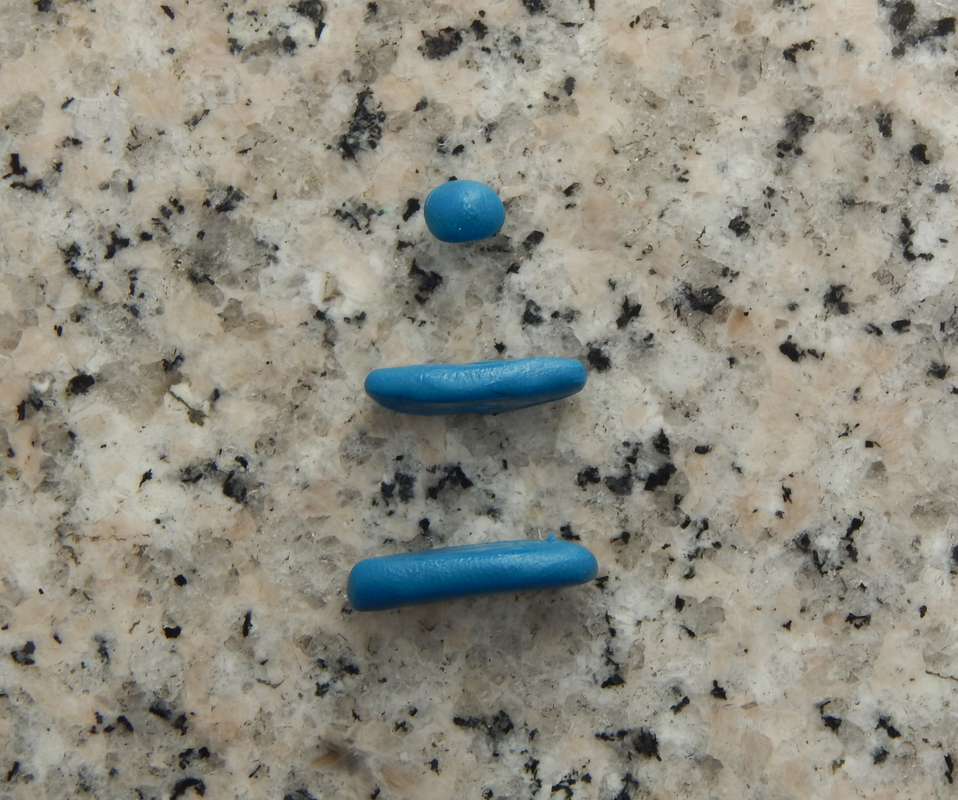
Thoroughly knead and roll your clay to condition it. Roll into a snake and cut six pieces from your main/background color. One large, and two medium(ish) pieces for the teapot body, three smaller pieces for the lid, in decreasing sizes.
(This picture is just to give you a very general idea of size. Ruler is in inches. You may have to adjust the amount of each clay piece as you go - as with all things, it gets easier with practice! And hey, it's clay - if you don't like how it looks you can squish it all up and start again before you bake it!
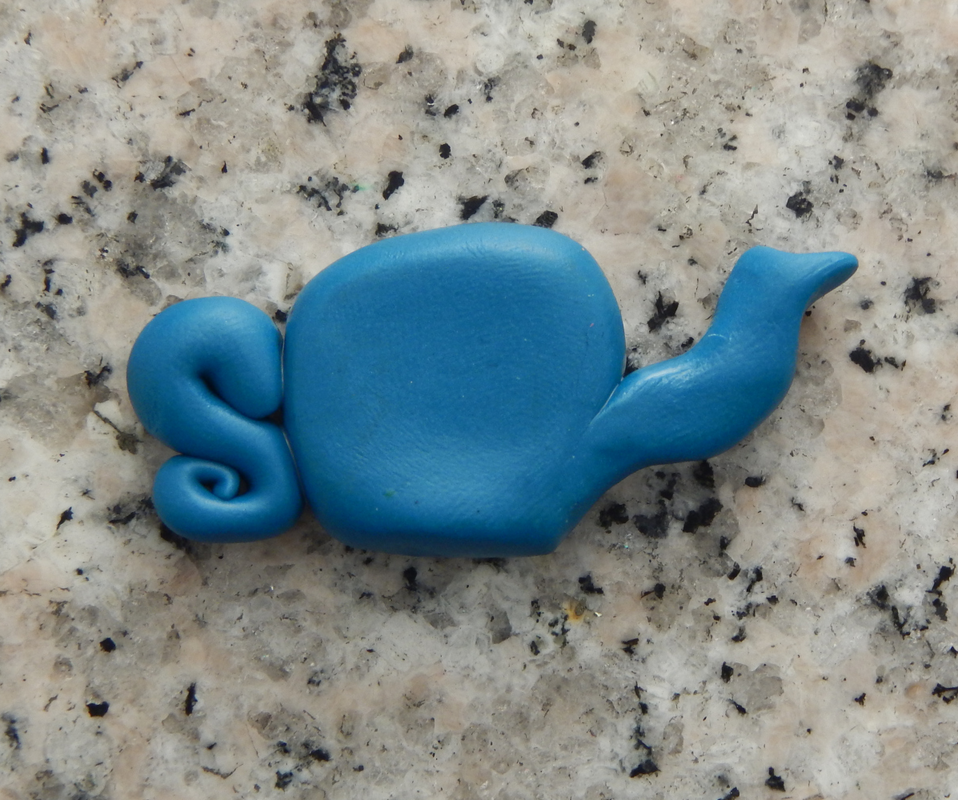
Roll and shape 3 of the pieces into a teapot body, handle, and spout. (Sorry there's no magic formula here, ya just gotta squish the clay around until you are happy with how it looks.
The handle and spout both start as a snake and then get shaped, the teapot body starts as a sphere that you then flatten and shape a bit.) Using liquid clay to reinforce the joins, attach the handle and spout to the teapot body. Smooth with clay shaper tool.
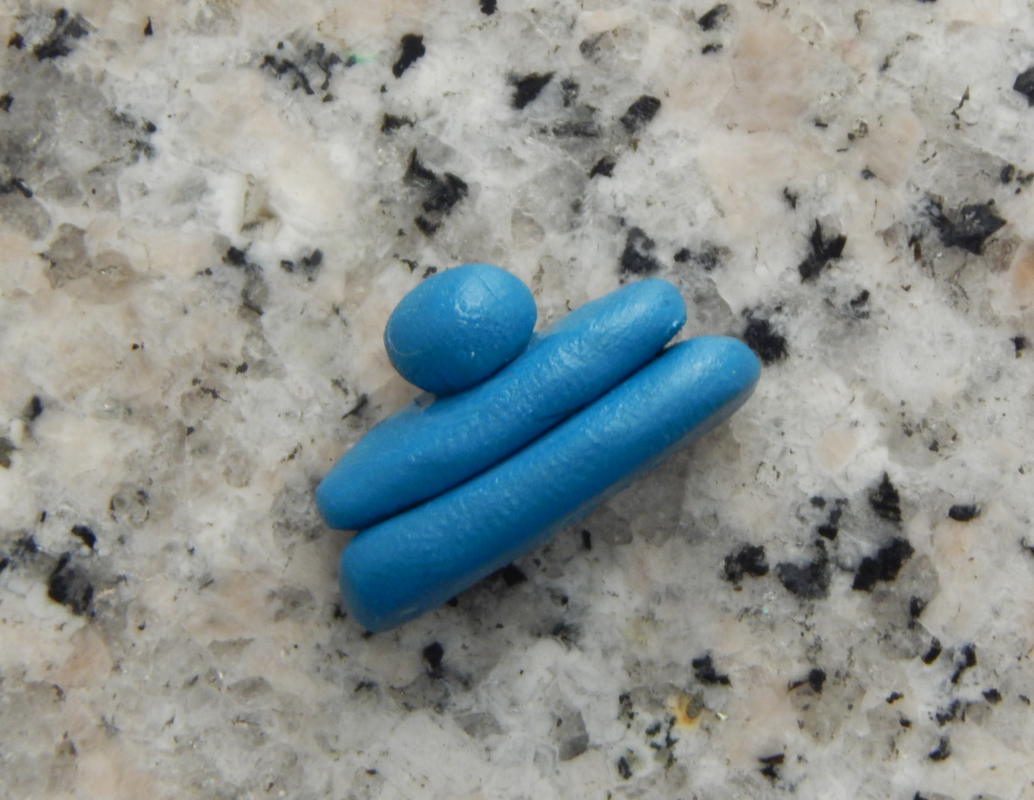
Shape the remaining three pieces of clay into a lid, and then using the liquid clay to reinforce the attachment, put it on the teapot:
(I find it also helps to put a little bit of texture on the top of the teapot with the needle tool before attaching the lid.)
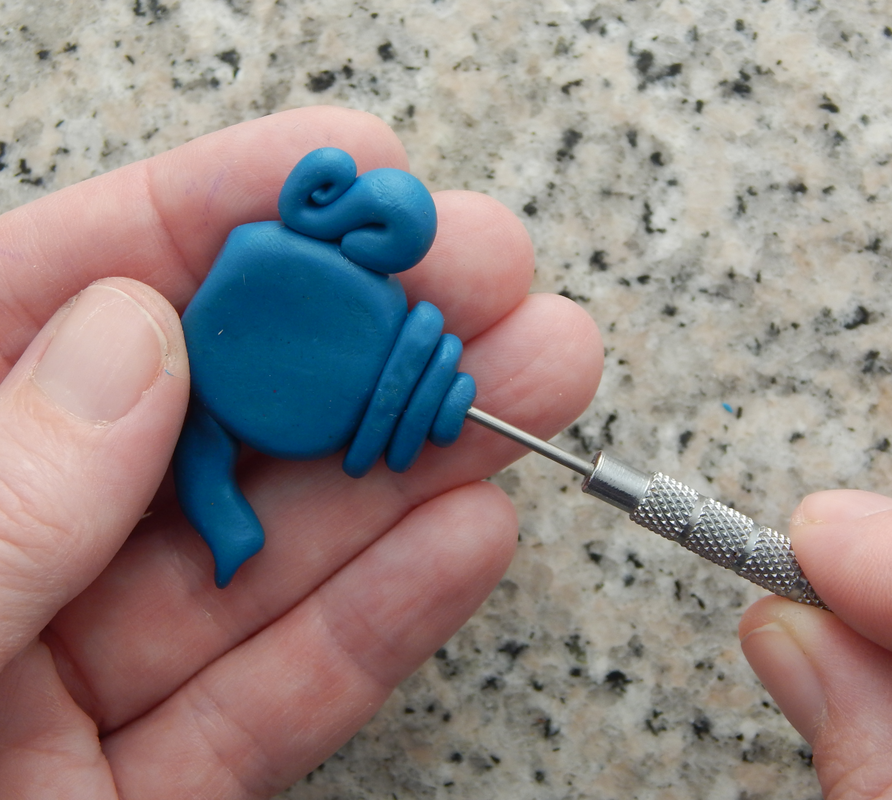
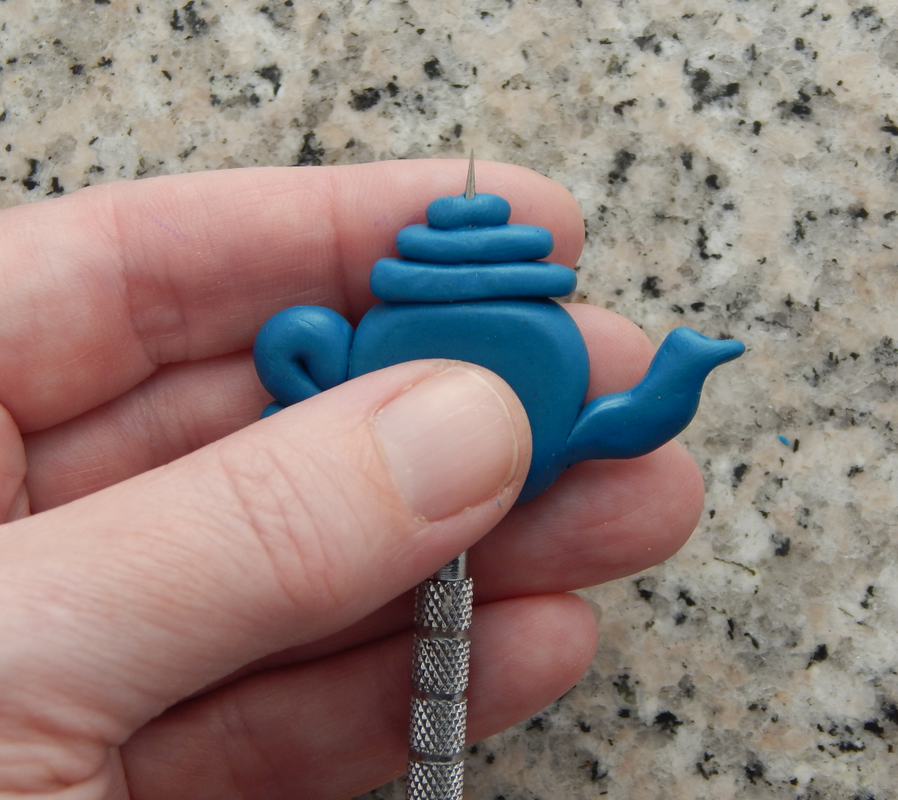
Pierce a hole in your teapot, so it can be a bead! Now, in my early bead making days I remember searching high and low for "The Trick" to making good bead holes. "The Trick" is that there is no trick. Only practice. Sorry. However, that being said, I can give you this advice:
- Use a drilling motion, don't try to just ram your needle tool through. - Start on one side, go halfway, start from the other side and try to meet up with that hole and go out where you started. (This is a bit tricky at first, but is helpful to master to get a nice straight hole) - Use a clay shaper tool to tidy up the entrance/exit points a bit.
IT'S BAKING TIME!
Here's a secret (it's not really a secret:) You can bake polymer clay more than once. So if you, say, wanted to make a teapot bead with a pretty applique flower on it you could bake the base first, and then go back and add the flower. It's much easier that way, and you don't have to worry about inadvertently squishing things you did not mean to squish!
I put a piece of parchment paper on my baking tray and cover it with aluminum foil, and then bake at 300F for an hour. This is what I've found works best for me over many years, you may want to check the instructions on your clay packaging. (In general, baking it for longer than the recommended time is fine, getting much above the recommended temperatures can burn your clay and release nasty fumes. (Burnt clay fumes are BAD. If it should happen: turn off oven, turn on fans, move tray somewhere outside, move yourself away from fumes until they have dissipated. If you're careful, it won't happen often, but I have had it happen a time or three.) Oven thermometers are your friend. So is good ventilation. I bake enough clay in a year that I have a dedicated convection oven out in our converted garage studio. For occasional use, your home oven is fine.)
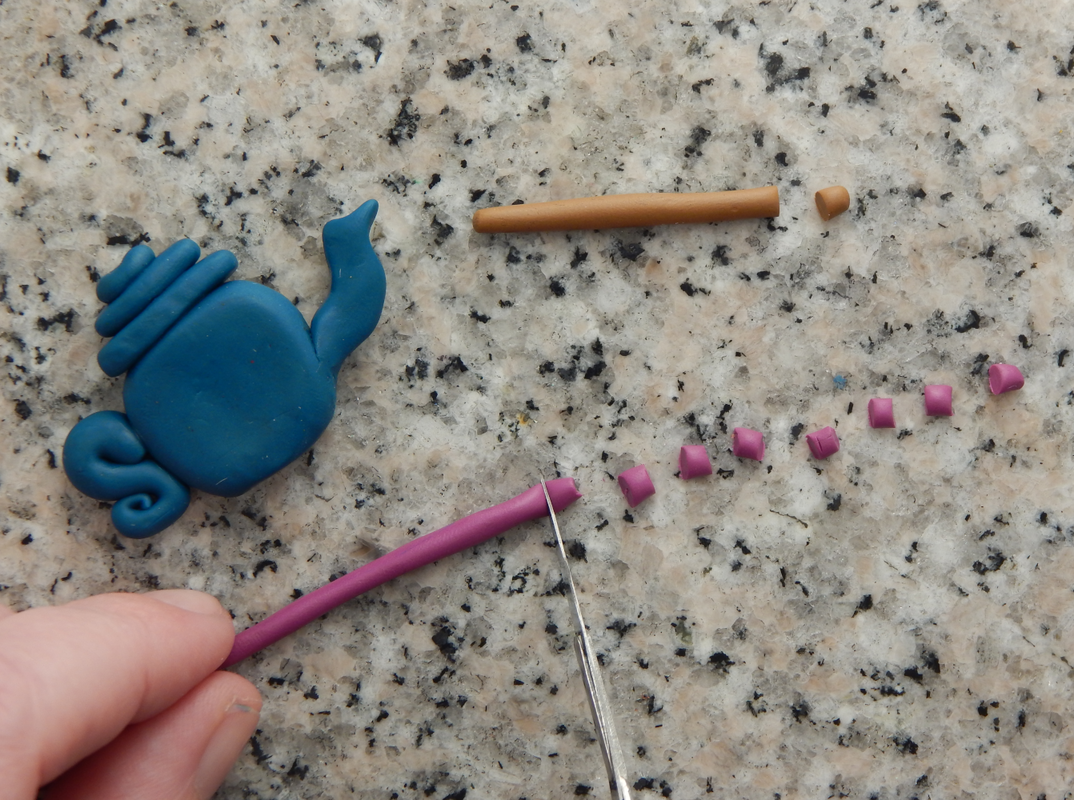
Rub a thin layer of liquid clay onto the teapot body to help with adhesion of your flower. Cut 1 small piece of clay from the flower center color (I like to use a tan or brown color) And 8 pieces of the flower petal color. Roll the flower center into a little ball and press onto the center of the teapot.
Roll the flower petal color clay into a small rounded triangle shapes and press around the flower center. (For me it's easiest to do the top, bottom, and sides first, and then go back and add the ones in between.)
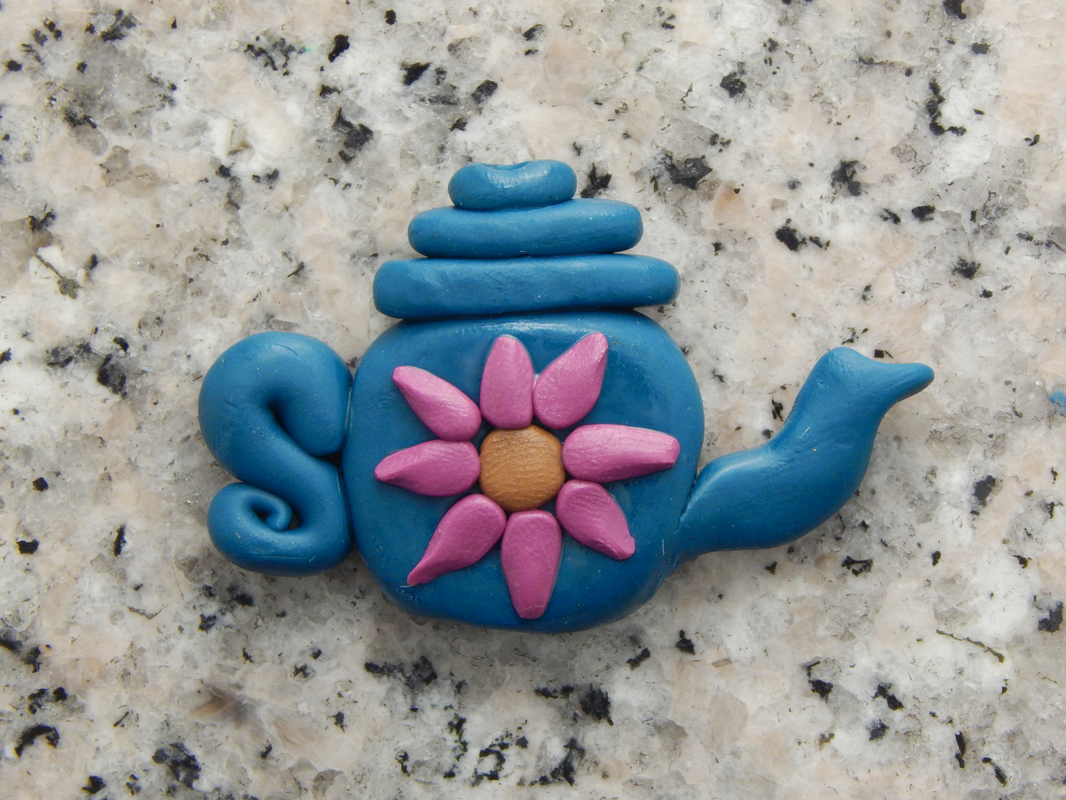
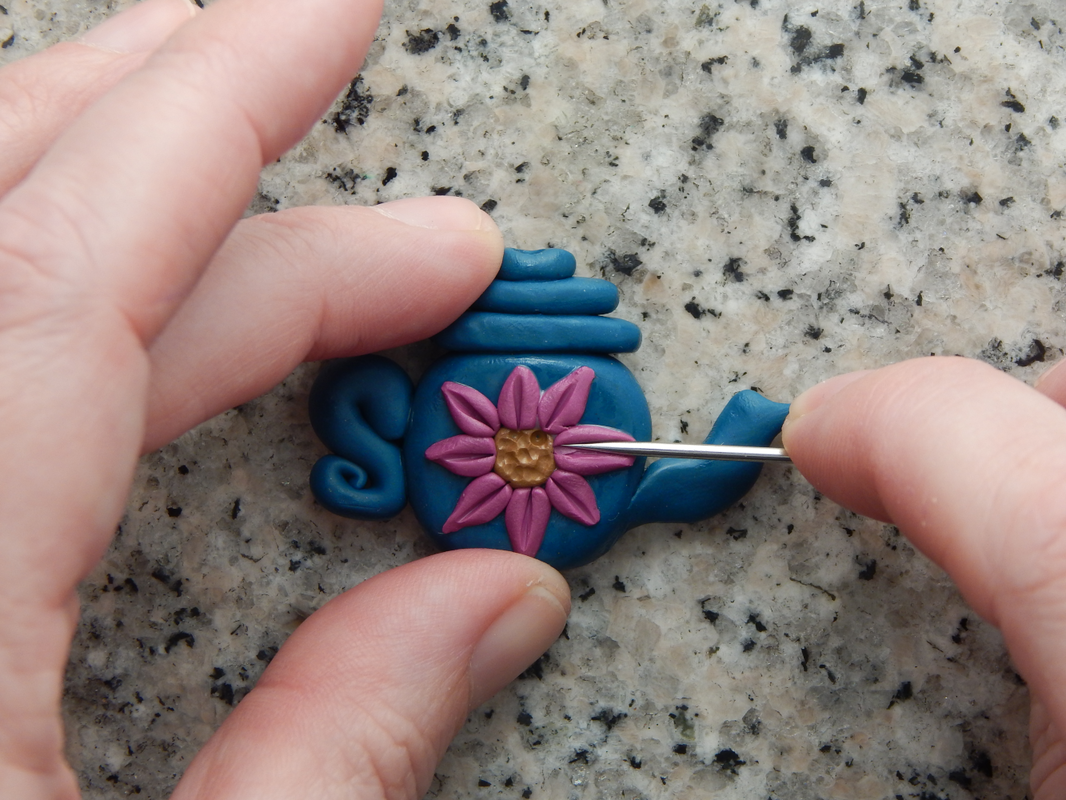
Texture the center of the flower with the embossing tool. Texture the flower petals with the needle tool.
BAKE! (Again)
WE ARE ALMOST DONE! Hurrah!
Antique the bead if desired. (Brush diluted acrylic paint in brown or black all over bead, making sure to get into the cracks and crevices. Using a somewhat stiff brush is best. Then wipe off most of the paint except for, you guessed it, the paint in the cracks and crevices.) Fold an index card (or other stiff piece of paper- about card stock weight) in an accordion fold to hold the bead. Put the bead on a small piece of wire, use a soft brush to give it a coat of liquid clay, and then prop it on the baking cradle with the wire. (The wire will touch the index card on both the "peaks" of the paper. The bead won't touch the paper and will hang in the "valley." It's at about 6:45 in the video if you need to see to get a good visual.) and now...
WE BAKE!
(Yes, again. It's the last time. I promise. Because when it comes out of the oven, it is... ALL DONE! (Well except for putting it on a chain or a cord or using it in whatever awesome piece of jewelry you are going to make!)
Toss a coin to your crafter:


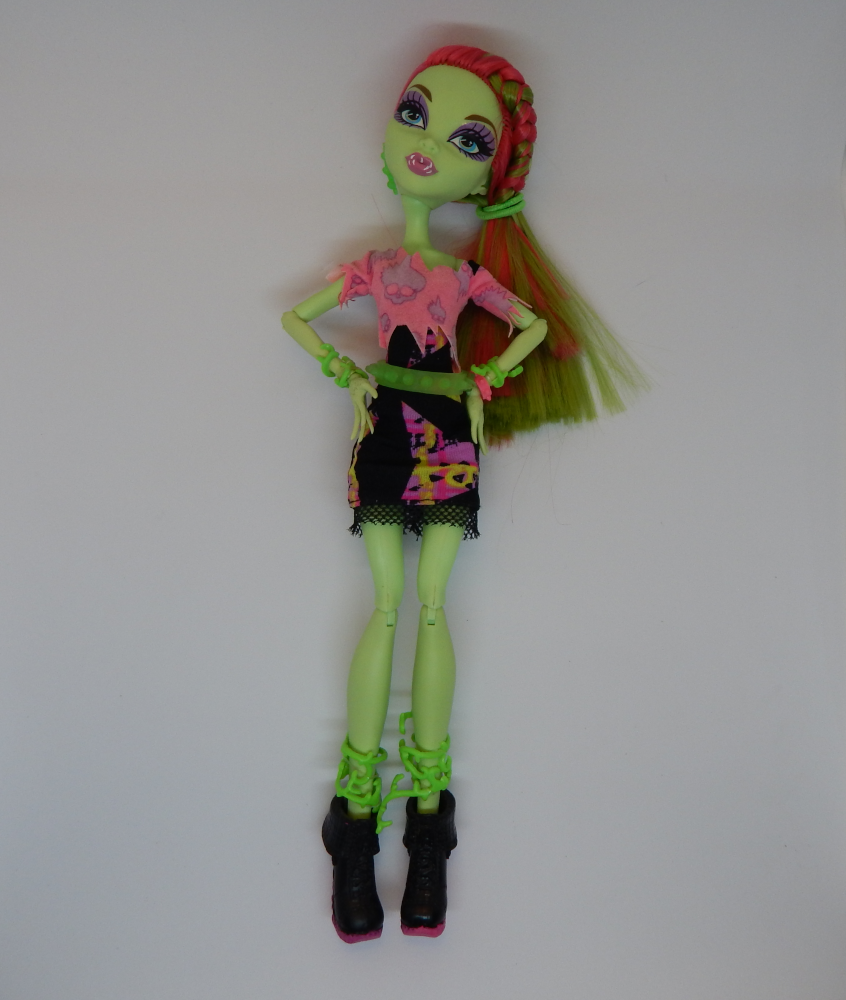
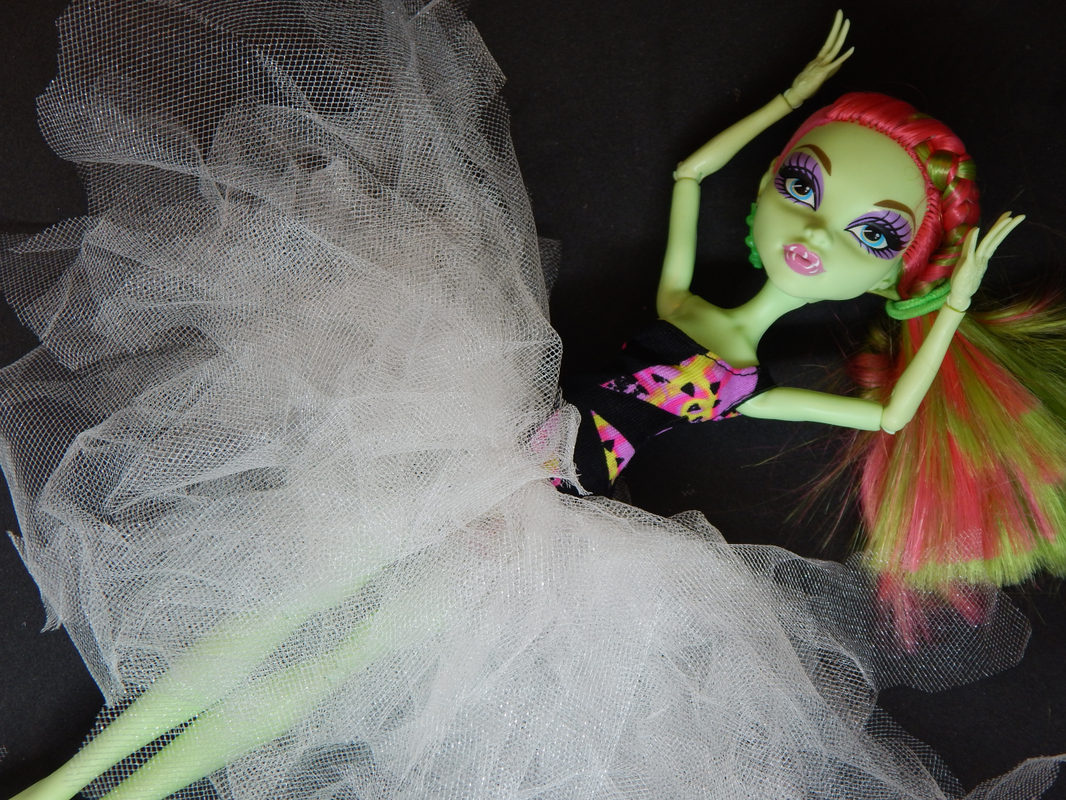
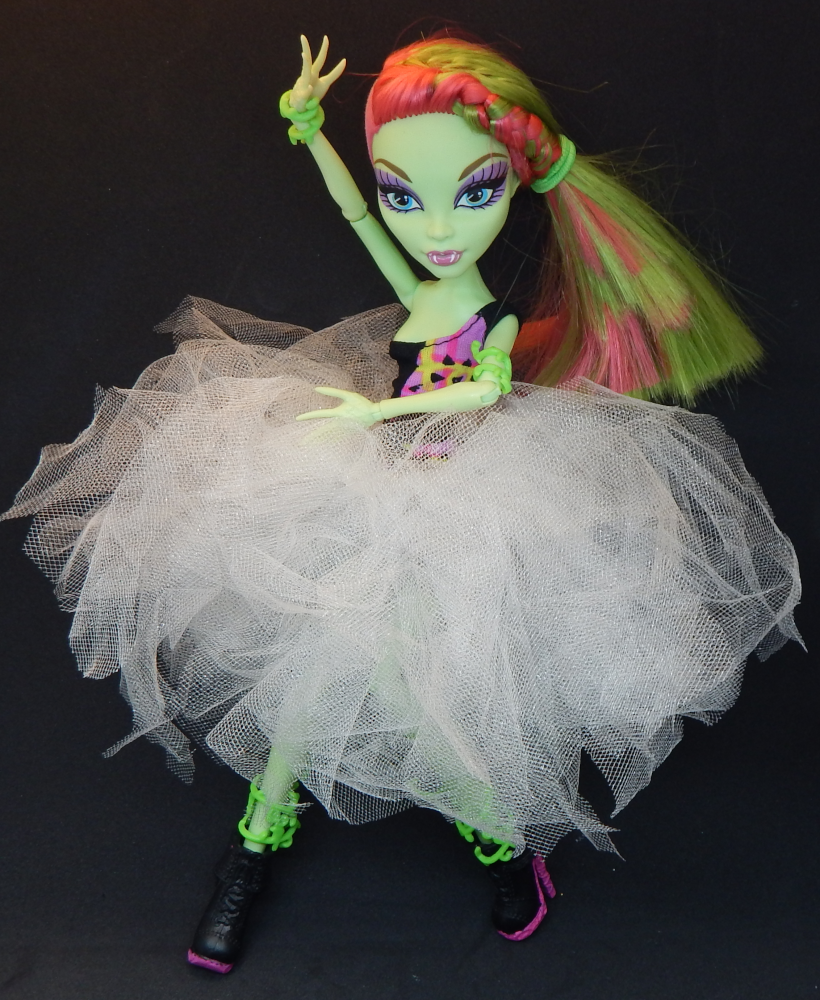
How to make a fun tutu for your fashion dolls! You can easily adjust it to the doll, so this will work for different types and sizes! If you learn best by watching a video, scroll to the bottom of the post for a video how-to!
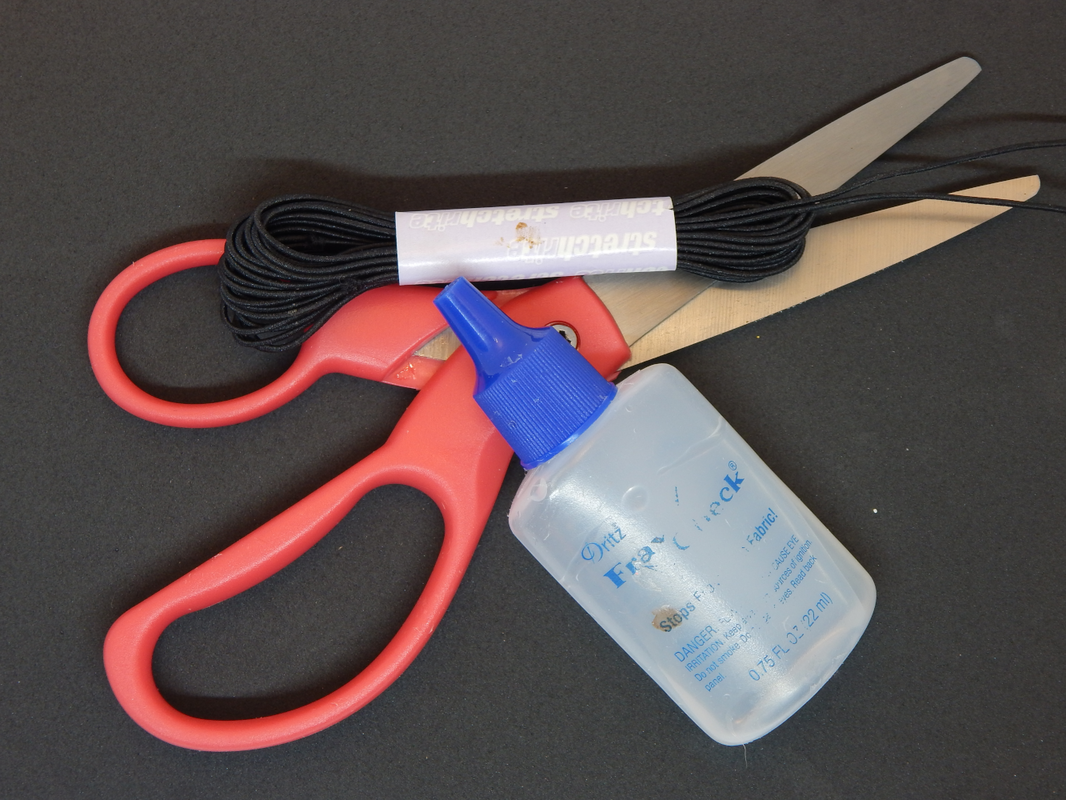
Materials
Steps
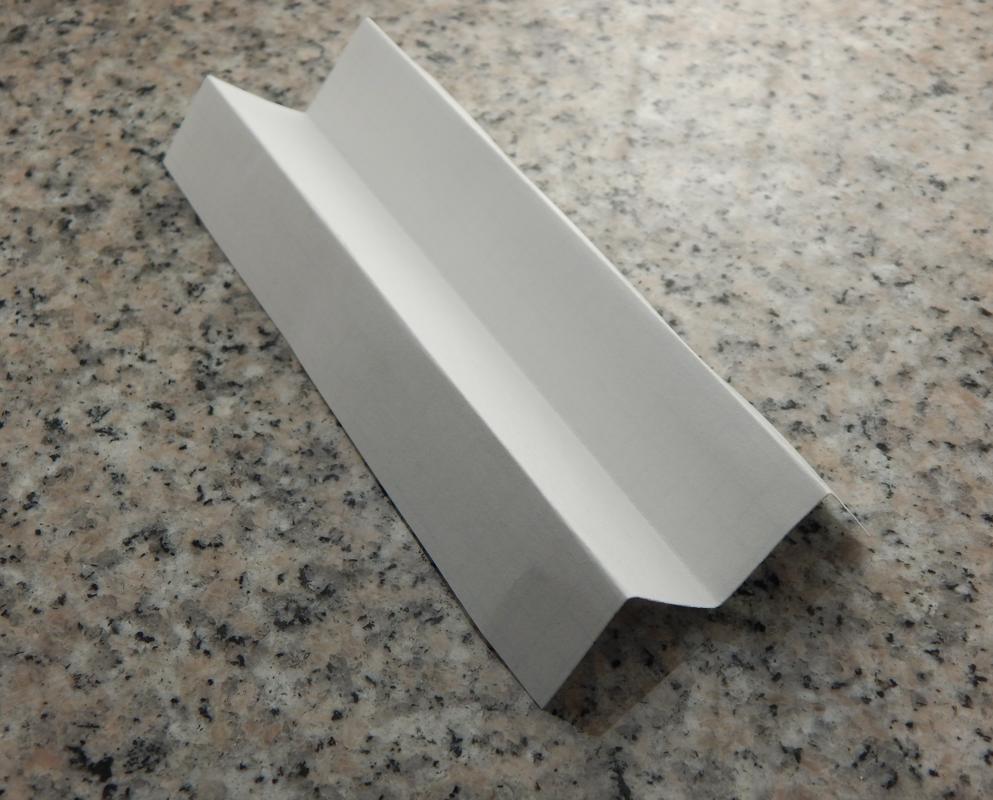
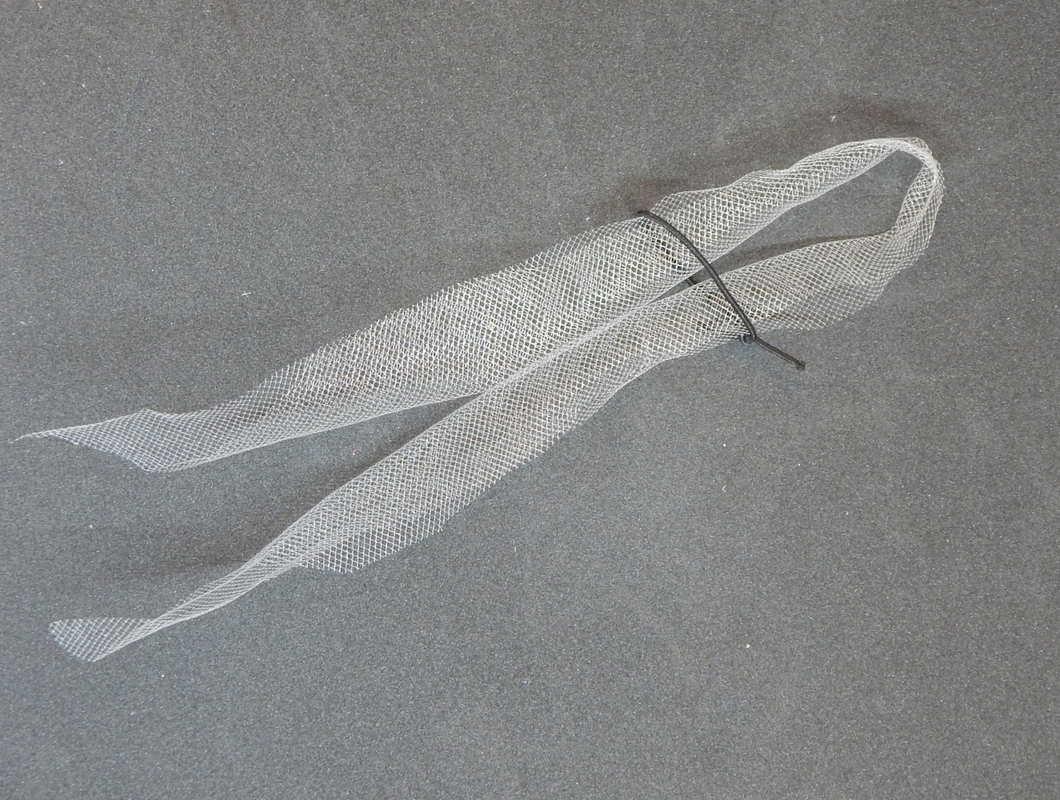
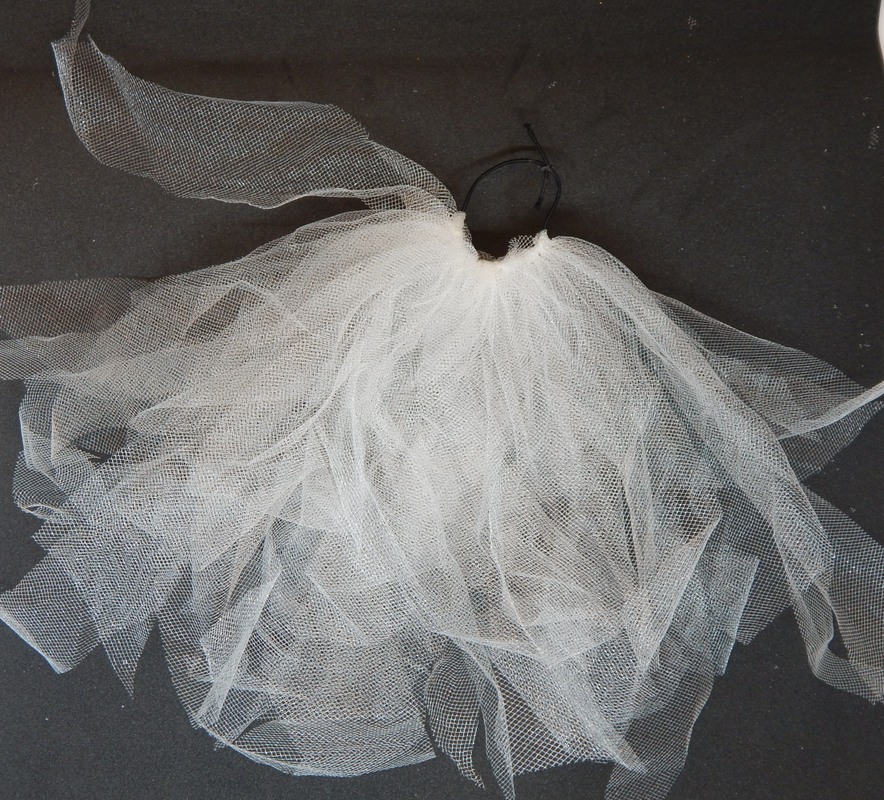
Step One: Cut a piece of elastic and tie it around the doll's waist in a loop with a square knot. Make sure it fits the doll snugly, but you can still take it off and put it on the doll. Put a dot of Fray Check or clear nail polish on the knot to secure it.
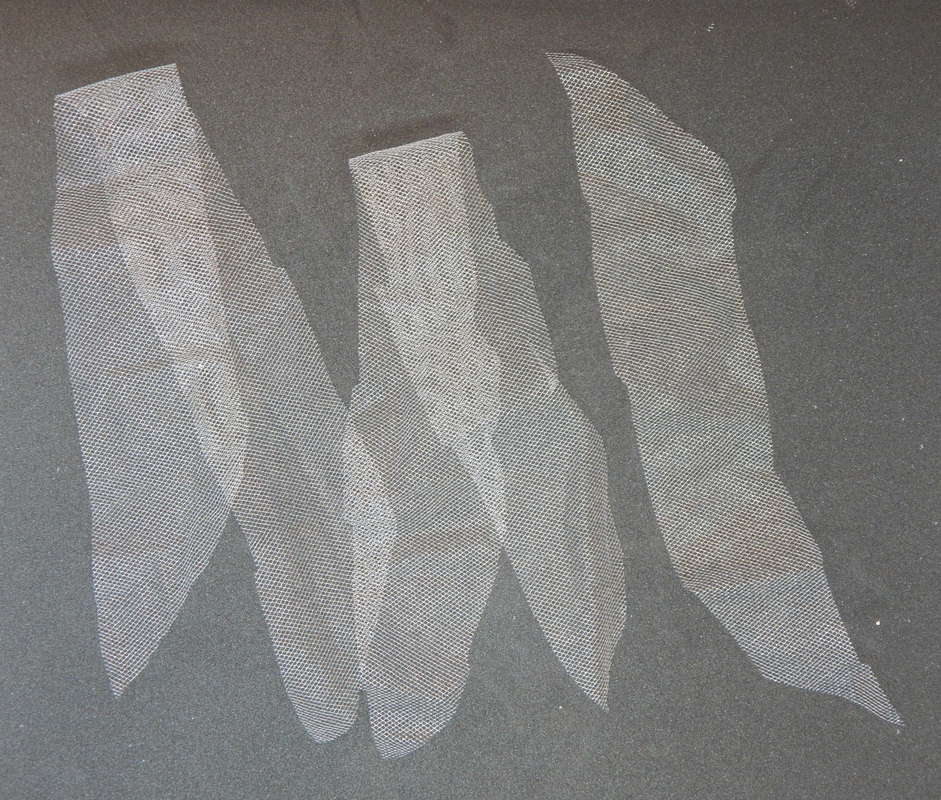
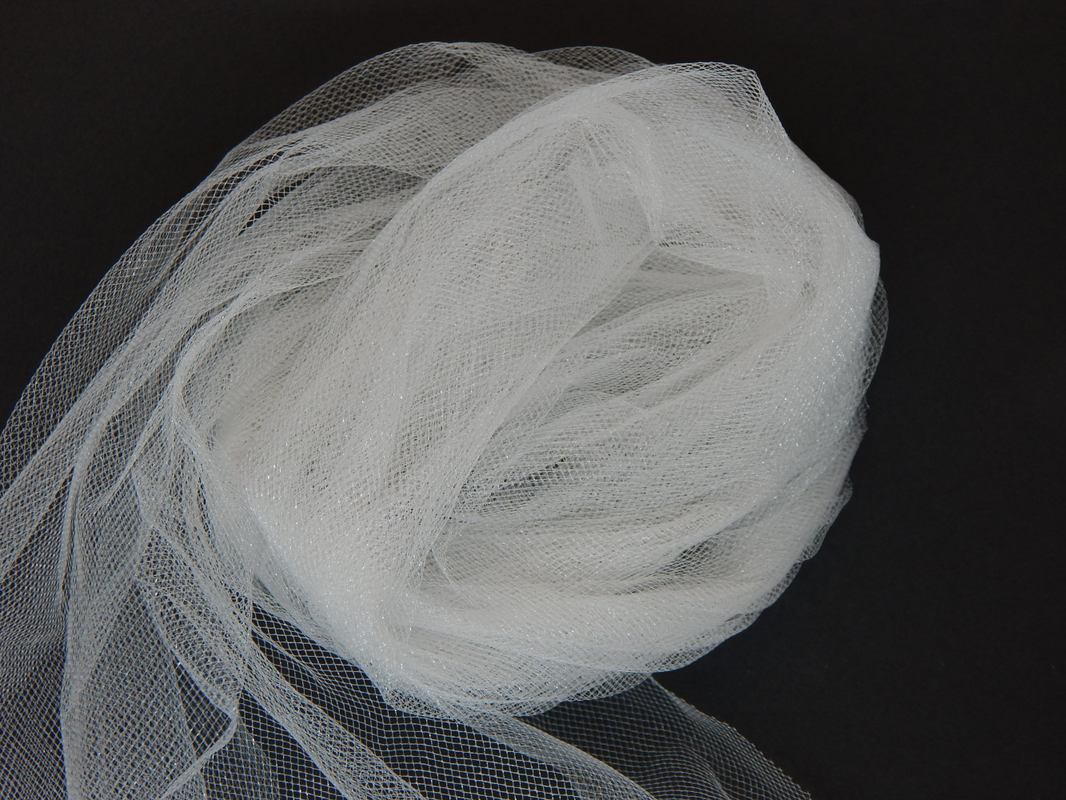
Step Two: Cut a bunch of strips of the tulle, about one inch wide. The length will depend on the length of the tutu you want and also the height of the doll. You want them about the right length for the tutu when folded in half. The amount of strips you need will also depend on the size of the doll, and how floofy you want the tutu to be! These do not have to be uniform in size, making them a bit different adds interest and texture to the tutu! (And you will be trimming them up in the last step, so it's better to make them a bit too long and then cut them shorter.)
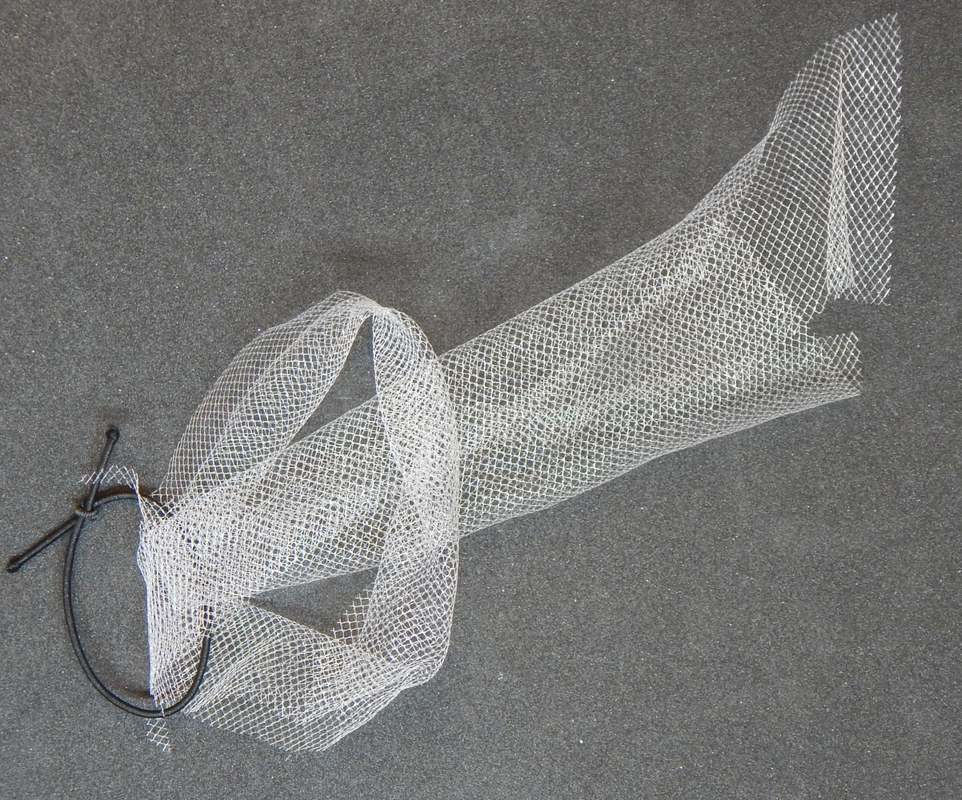
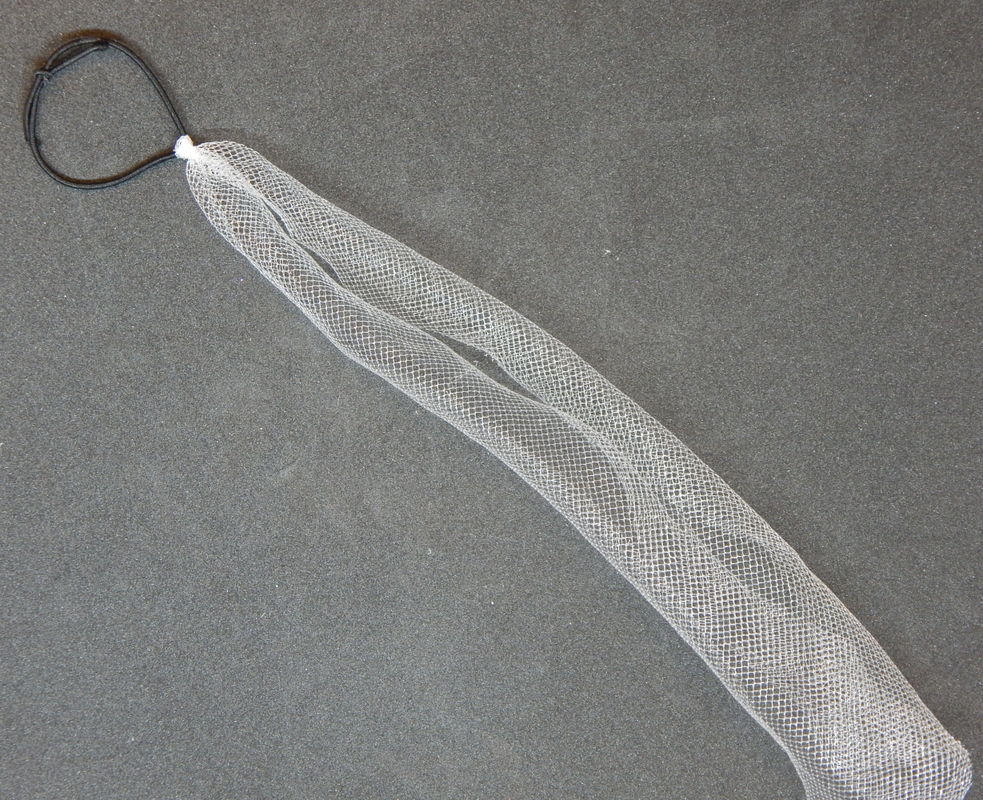
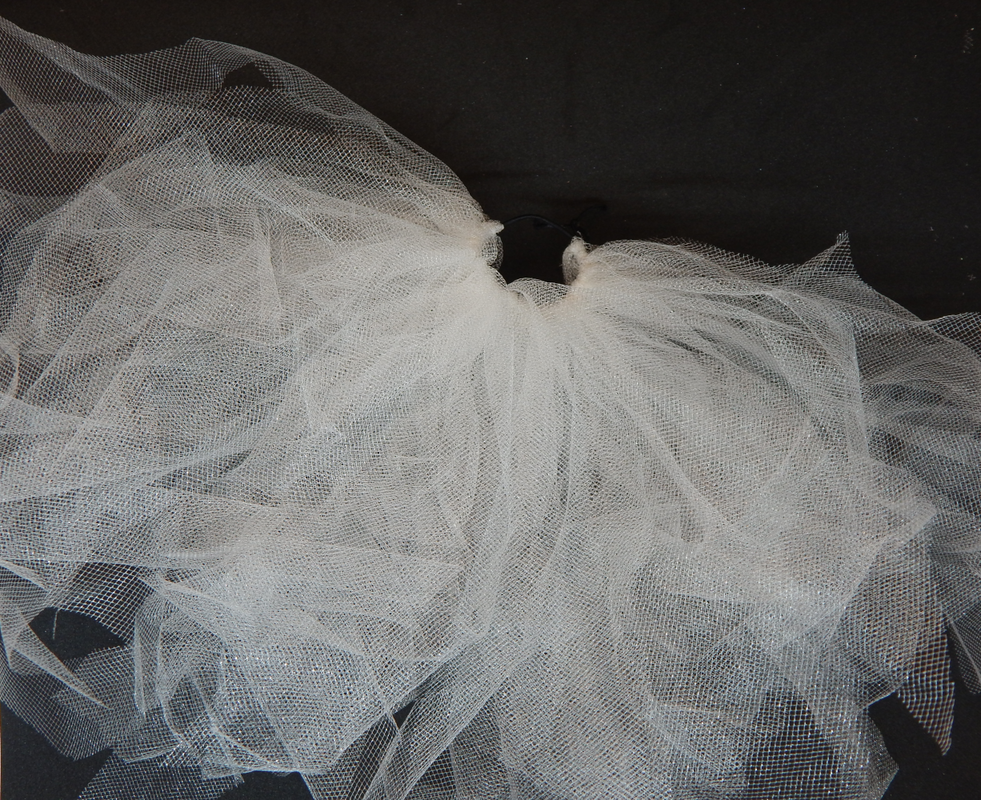
Step Three: Tie the tulle strips to the elastic waist band using a lark's head knot.
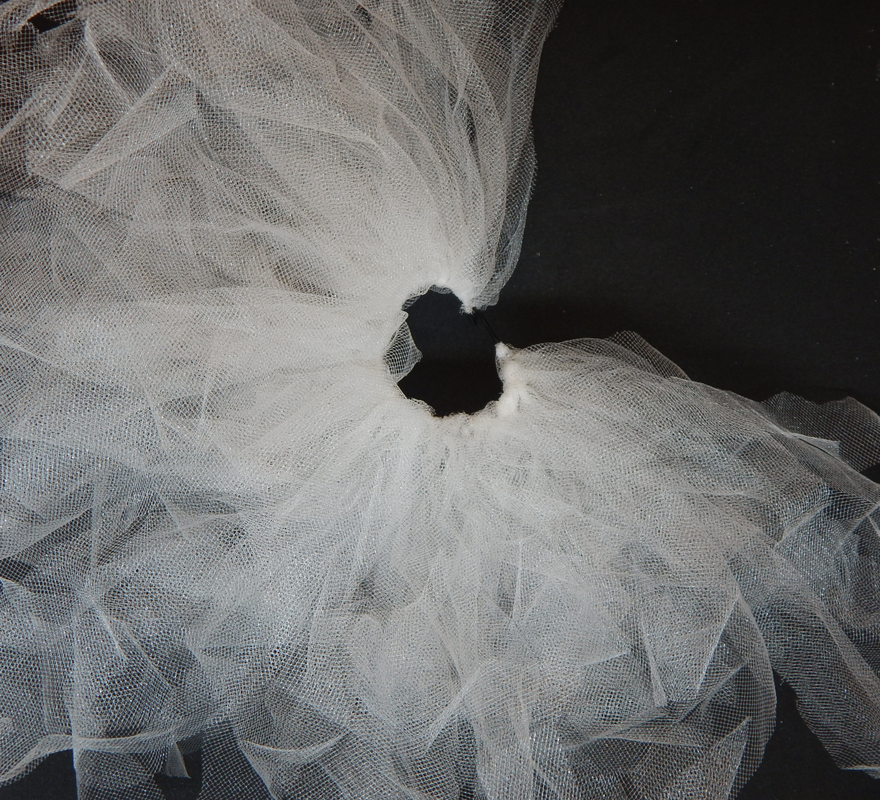
Step Four: Continue tying tulle strips around elastic band until it is covered.
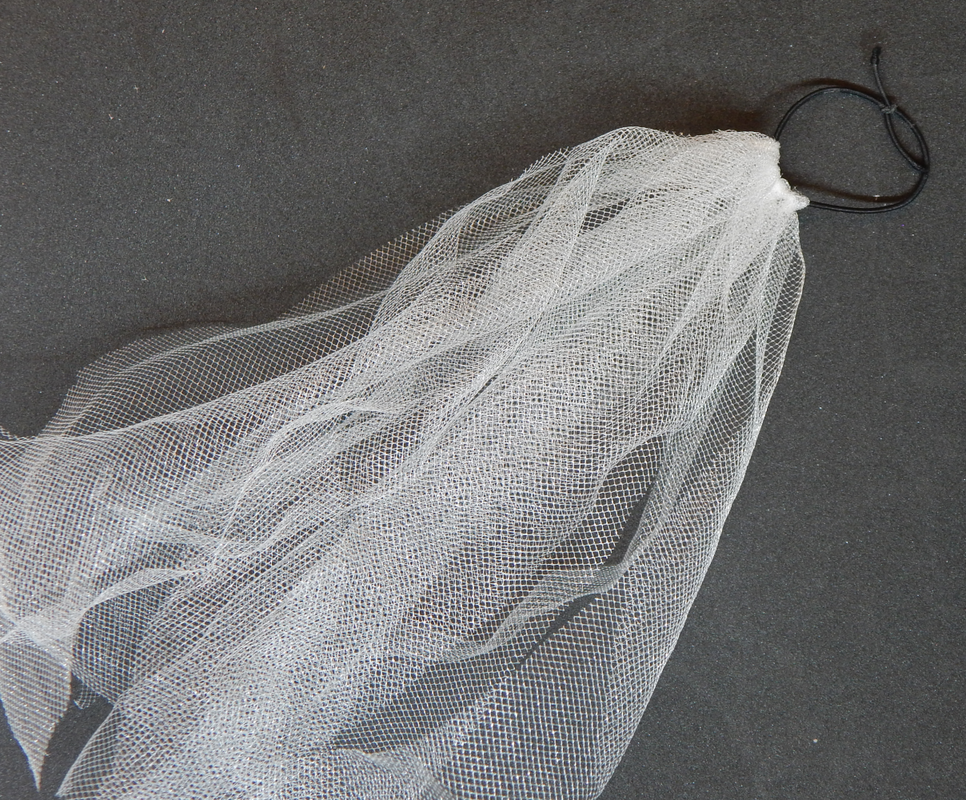
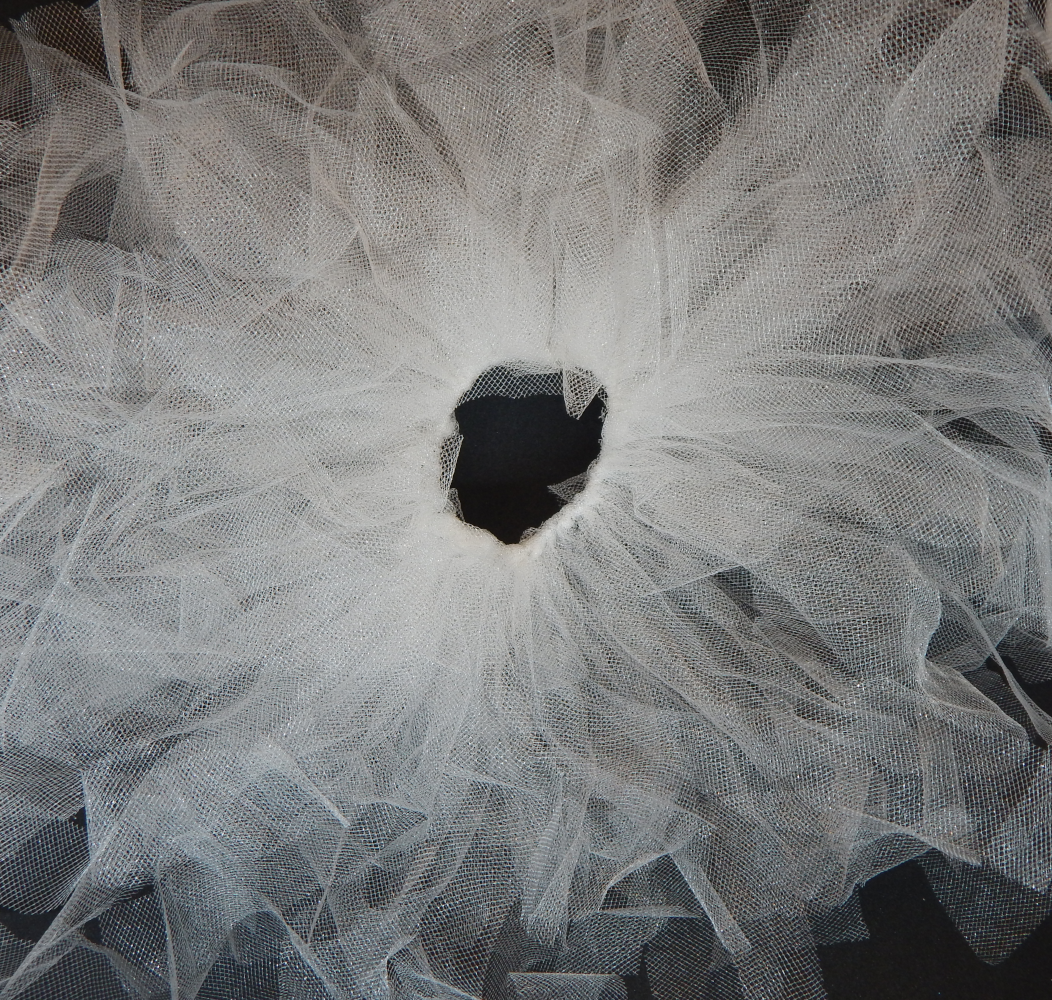
Step Five: Put tutu on the doll, trim and scrunch it until you are happy with the shape!
If you enjoyed this tutorial or found it useful,
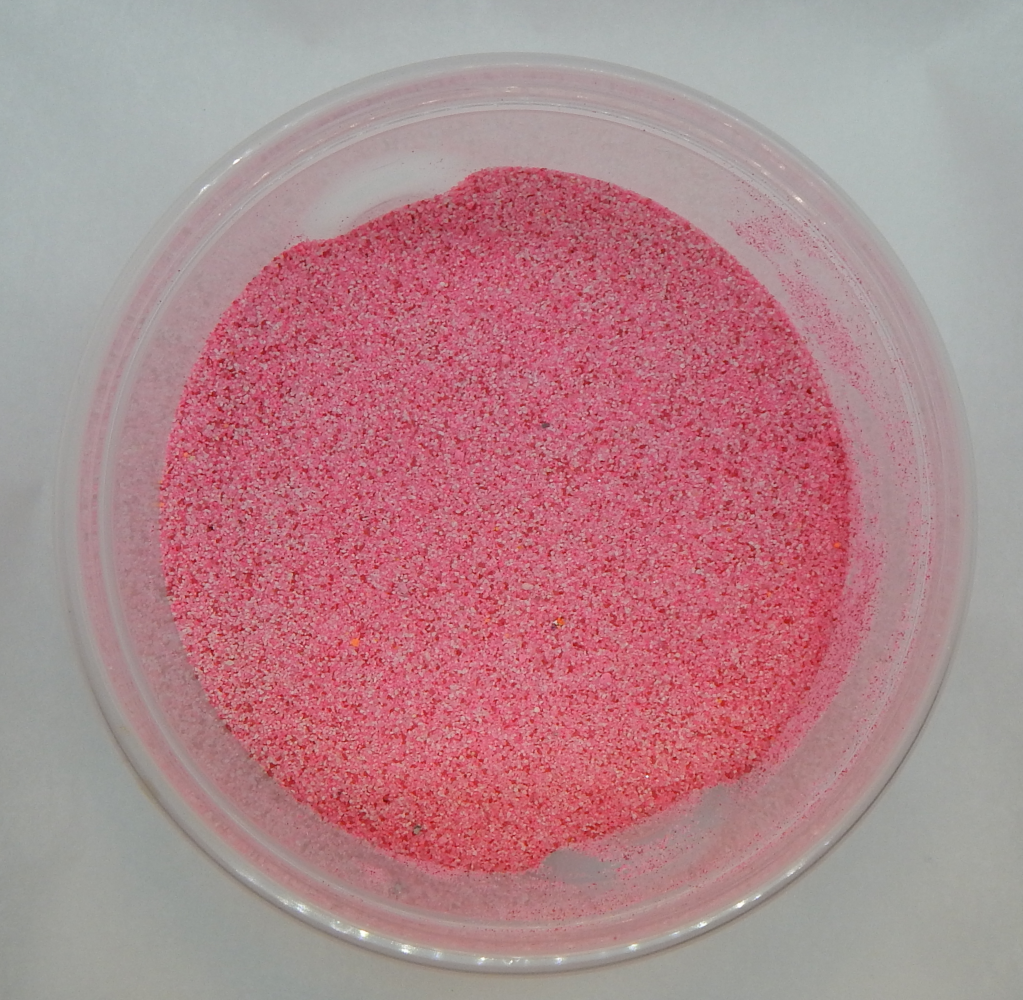
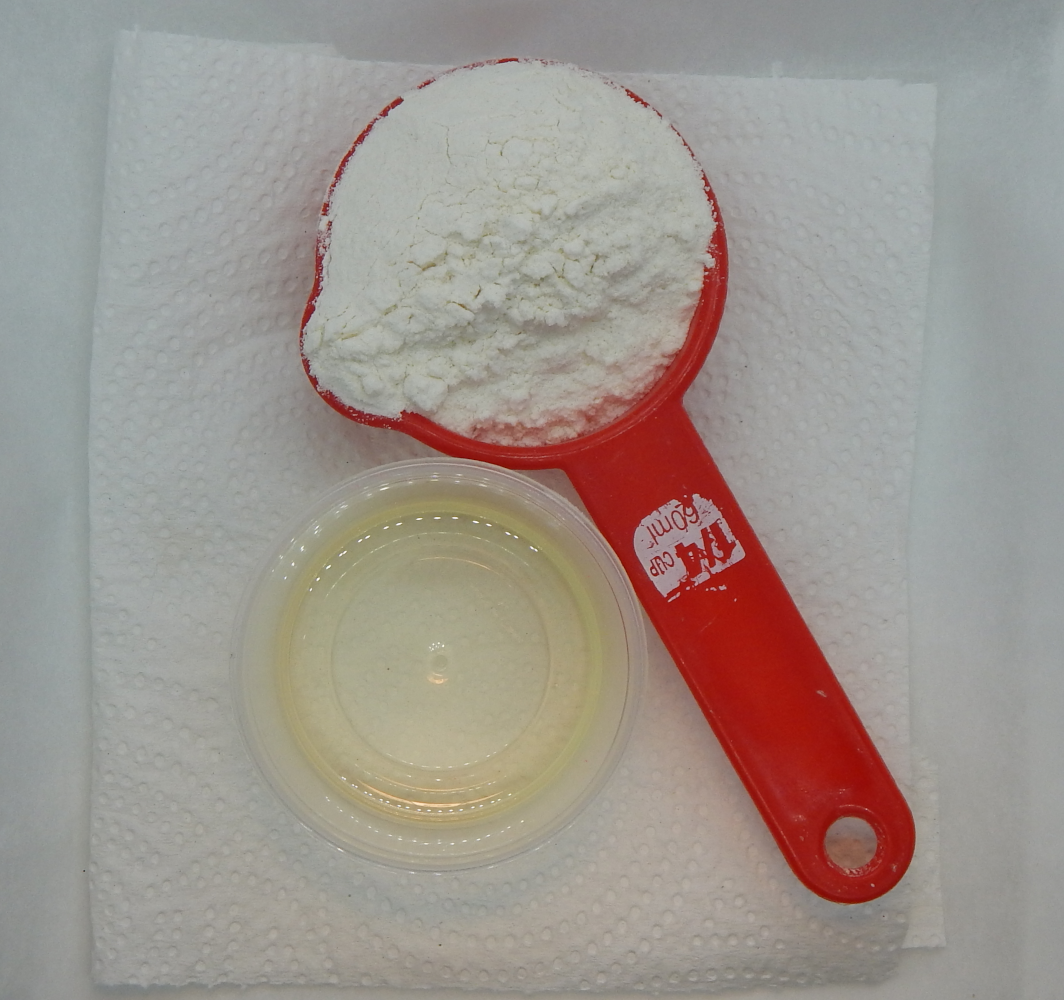
a small tip is always appreciated! (A.k.a. "Homemade Kinetic Sand") 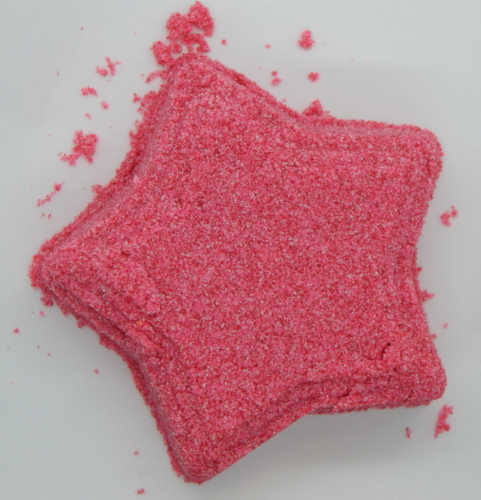
How-To: Dump ingredients in bowl, stir until well mixed. Add more oil a little bit at a time if needed. This recipe can easily scaled up or down if you want more or less, it's basically one part flour to four parts sand, add oil a little at a time until you are happy with the texture and how much it holds together. Happy squishing!
Because who doesn't want to make a little noise? A project using recycled potato chip canisters and duct tape. LOTS of duct tape.(And of course I also used groovy patterned duct tape!) If you need a drum mallet, click here to check out this project! 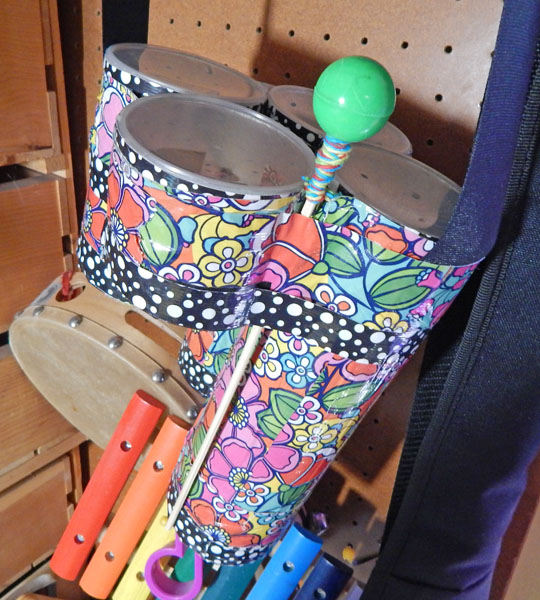 And here's the drum in action! 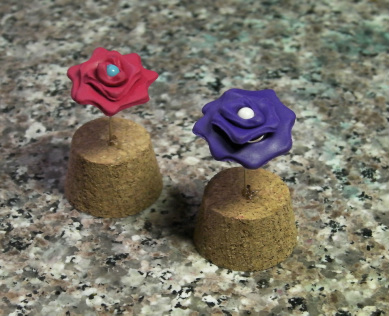 A video tutorial for making sweet little polymer clay flowers! One plain version, and one version with a cork base using a straight pin as the stem. Simple Volcanoes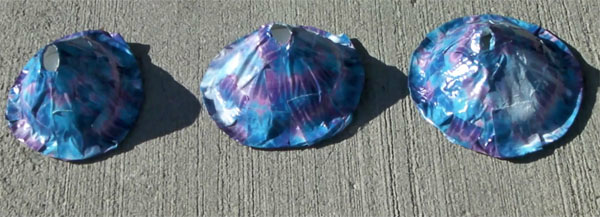 This is our quick baking soda and vinegar volcano! We made these for the Fourth of the July (Independence Day) in the US, since it has been very dry, we've had a really bad fire, and there is currently a fireworks ban in effect in our town.
You will need: -Paper Plates (We used the sturdier ones so we could get more than one use out of our volcanoes) -Scissors -Duct Tape (we used some with a cool tie-dye print. You can get it in lots of cool colors now!) -All-purpose permanent adhesive (we used "Quick Grip" by Beacon.) -Small plastic condiment cups -Baking soda -Vinegar -Food Coloring -Dish Soap (optional) Click "Read More" to go to the instructions! MAcrame BAsics For Jewelry MakingLearn how to tie Square Knots, Half-Knots, and add beads for making jewelry with macrame! Monocles and Mustaches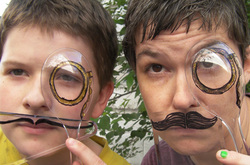 A couple of classy gents! In need of a clever disguise? QUICK! grab some
-Clear plastic spoons and cake/pie servers from the dollar store -Permanent markers -Glitter Glue Now make these monocle and mustache disguises! Click "read more" to go to the instructions! |
By JulieCreativity is fun, so let's start making messes! We'Re MOVING!An upgraded website means I can host ad-free videos!
DIY content will now be posted at: http://creativemovescreations.weebly.com/make-messes This is where the MakeMesses Dot Com address now goes! New content will be posted there, but all the older projects will still be here (MakeMesses Dot Weebly Dot Com) as I slowly do some improving, updating, and posting them at the new website section! Julie's Tip JarBuy your crafter a
cup of coffee or some new art supplies! ;) Project List
All
|


 RSS Feed
